
studio compartment
Hey, remember this? It's the add-on build-over hyphenation spectactular room above my garage....
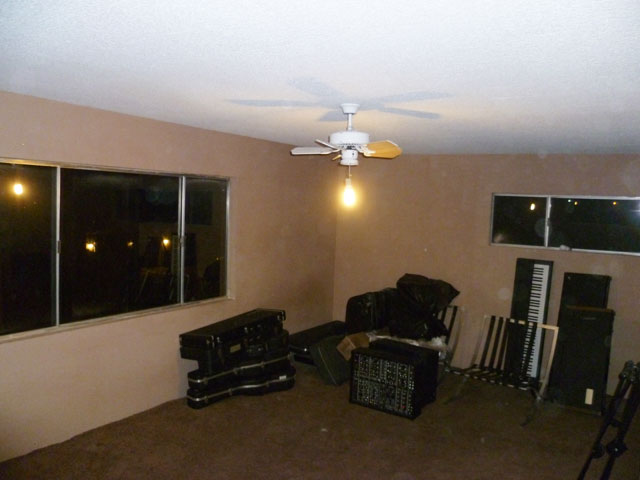
This pic is from when I moved in (which BTW, this weeks marks my one year move-in anniversary). It's where my music studio space is supposed to be (it currently unhappily lives in one of the small bedrooms downstairs), but I've been so obsessed with kitchen world that I haven't gotten to it. One of its hideous caveats was that it had no HVAC, so during the summer it was mindblowingly hot, but as blogged about recently, I had a super powerful (16,000 BTU) mini-split combo A/C/heat pump installed, so now it's totally comfy. With the kitchen on hold 'til hood and oven arrive, I've been going nuts up there. For starters, the bulk of the carpet got torn out months ago leaving bare wood (you should've seen me dragging a 20x13 roll of carpet downstairs by myself. I don't recommend that.) which I'm gonna redo in laminate fake-o-wood. Here's what's happened over the last week...
Finally finished framing the wall for the vocal isolation booth (John and I originally did most of it back in January!). And managed to have one of the unsecured 2x4's fall and hit me in the head causing a minor concussion (complete with three-day massive headache) and an ugly lump on my forehead. I'm happy to report I'm all recovered from this and only a little dummer than before...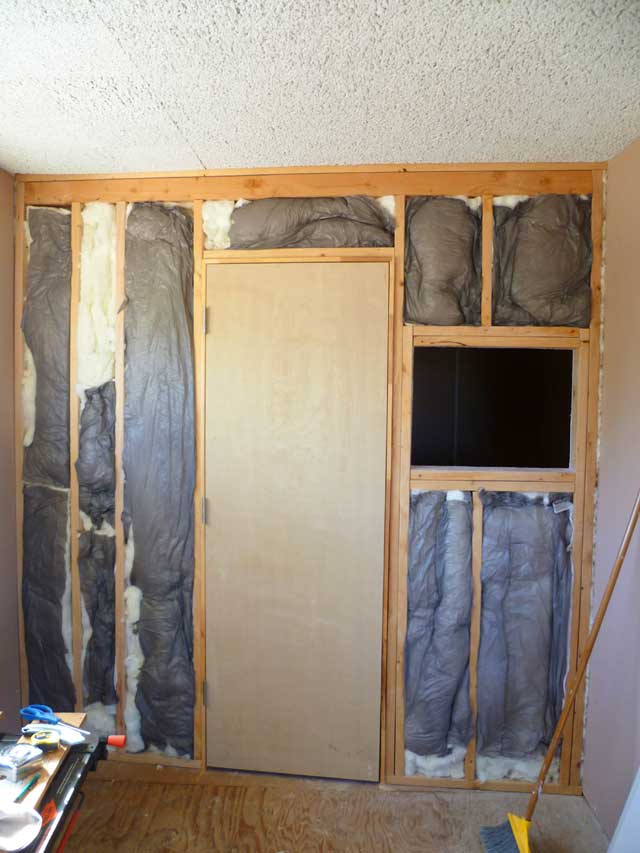
Myke and I installed the pre-hung solid-core door months ago, and as you can see I stuffed the walls with fiberglass insuation. This being an inside wall, the insulation is strictly for sound dampening purposes. That said, since we didn't want to make any holes for ducts (so as to avoid sound transmission), the A/C install guy actually routed a vent and return from the main house A/C unit into there, so the booth and room are separately cooled. I haven't done it yet, but I'm gonna get a bluetooth thermostat so I can effectively turn the A/C in the booth on and off without having to run downstairs. Triiiicky.
Next we have the drywalled version. Who loves doing drywall? Not me! 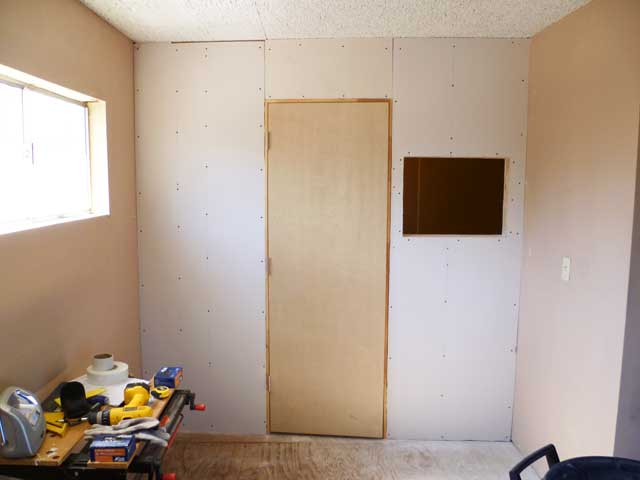
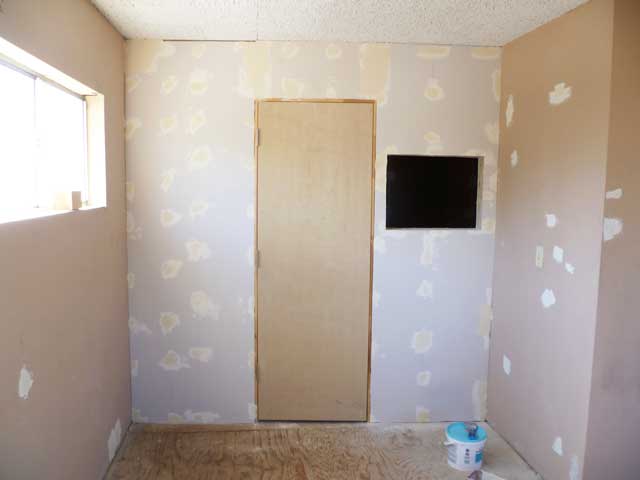
... and below is the mudded-over-screw holes version. Much of this was done by Kim, who was excited to wield a putty knife (or "a trowel!" as she calls it). In her defense, drywall mudding entails neither putty nor cutting. I didn't take pics but there were (of course) tons of random holes and stupidity for me to fix on the walls all over the place.
The paint scheme in here is gonna basically be white, but I love an accent wall, so here we have a Scion xB slate blue/gray one, mostly painted by Kim. I took this pic at night with a bunch of lighs in the room, so it looks a little funky. I may or may not paint the booth door the same color (that or I'll stain the wood). In the foreground you can see all the white moulding trim; this is for the perimeter of the door, but I'll use the same stuff for baseboards once the floor's in. BTW, having bare floorboards in the room makes drop cloths completely unnecessary when painting, which is pretty handy. 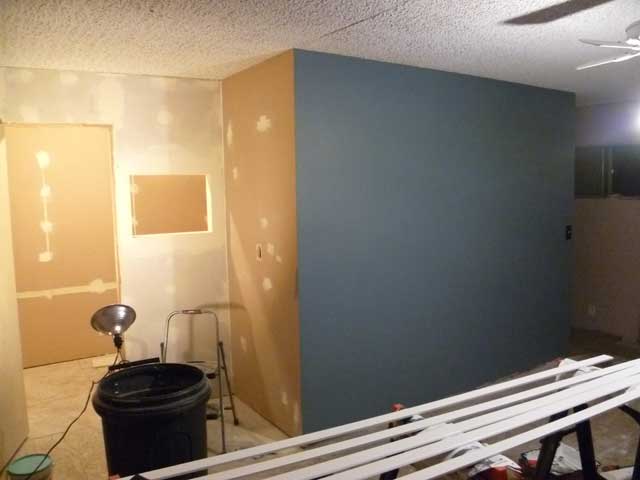
Probably the biggest pain in the ass has been that little window (here we're looking out of the booth from the inside). It's basically 2x4 framing with drywall on the inside permeter and plastic drywall edging material for, you guessed it, the edges. It takes a LOT of drywall compound application and sanding to get these smooth. I've done roughly four rounds of this and I think it's pretty enough for me. After I paint it, I'm gonna put in 1x2 pieces in the middle perimeter then mount a piece of glass on each side with glued-in 1/4 round pieces to hold the glass in place. BTW, there's no glass in the pic below; it's a total optical illusion... what appears to be reflections in the "glass" are actually just the white patches on the wall in the background.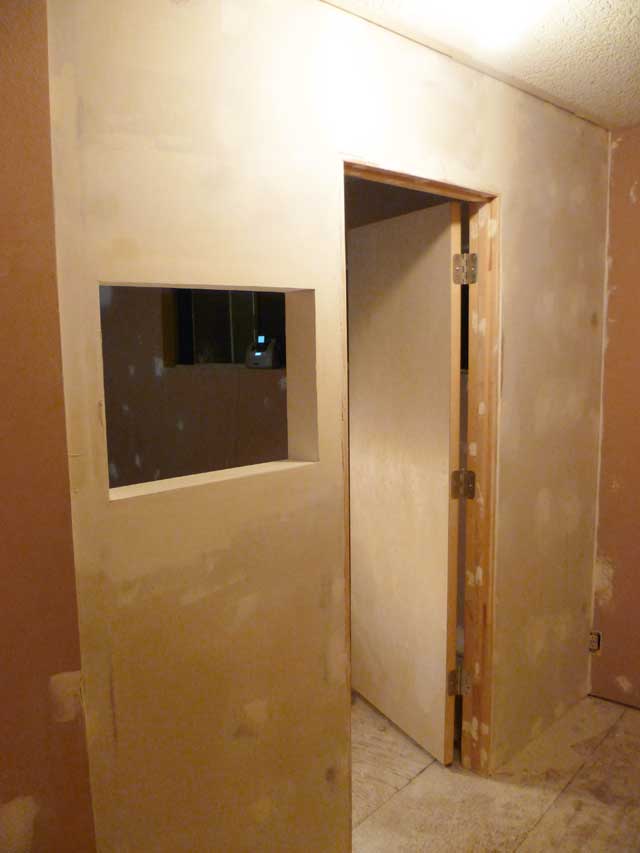
My Michaelangeloesque sculpting work close-up... for more optical illusion fun, what appears to be reflections in the "glass" here are actually reflections from the big window in the background. 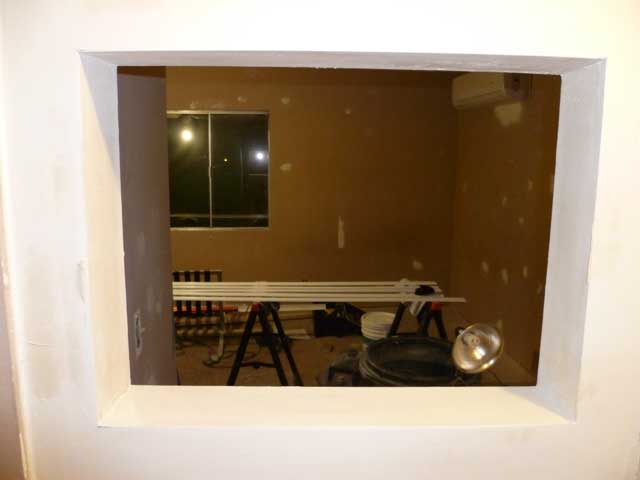
I had planned to primer the inside of the booth today, but I needed to caulk the edges and do other various prep work. Getting' there.
 Share Article
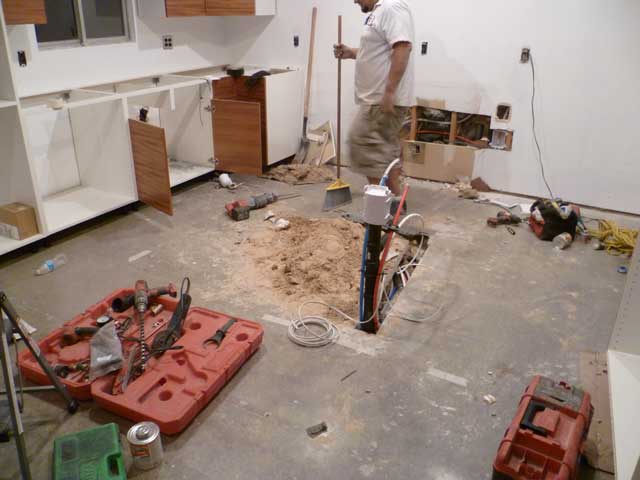
