SEARCH
Mid-Century Malaise – "SHOW ME PICS" Version

Tuesday
Dec252012

mould time rock 'n' roll

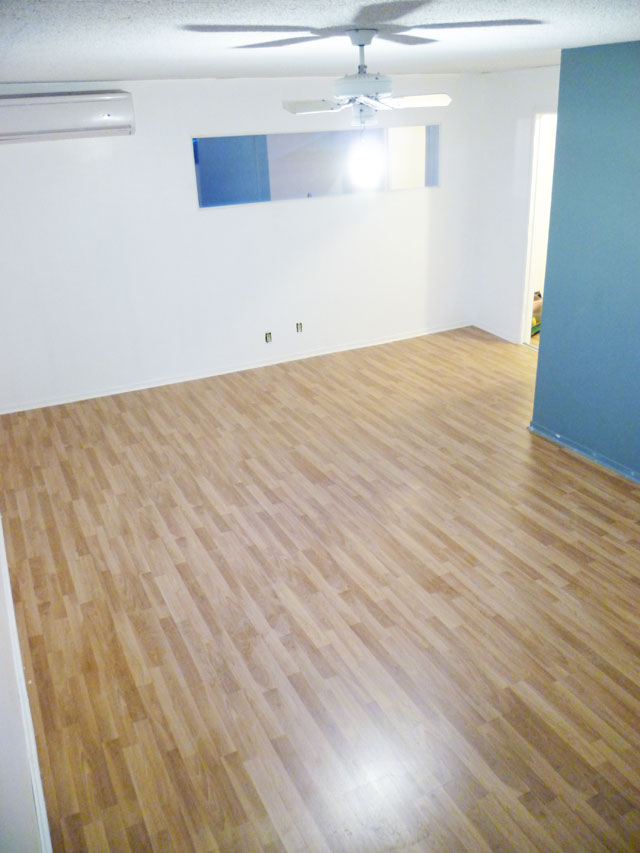
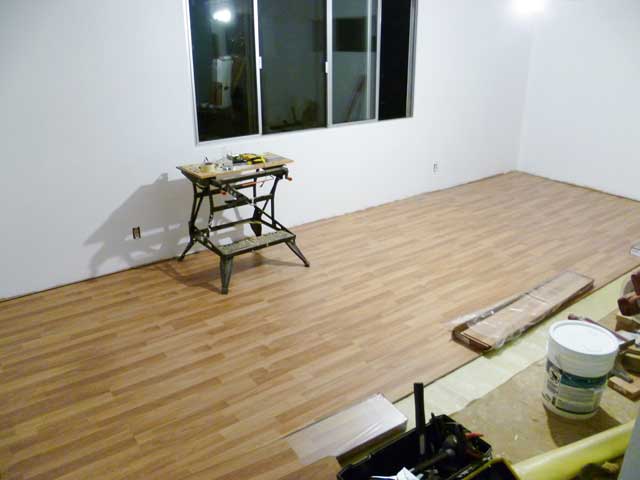
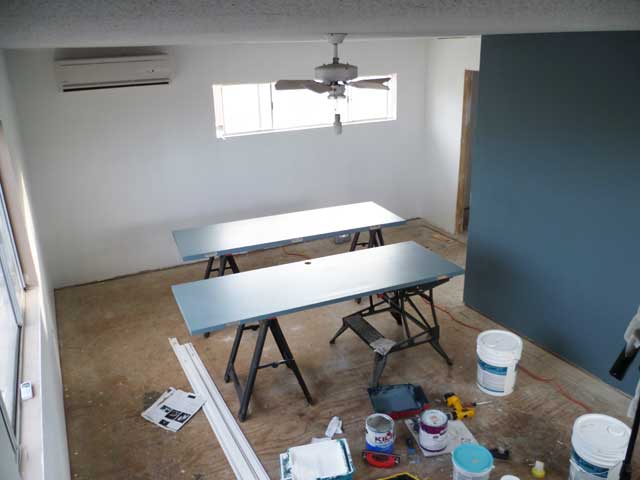
It may not look too different from the last pics I posted, but with the laminate floor installed, I spent the last week or so buying, painting and installing baseboards and quarter-round. This was delayed because I needed an air compressor and nail gun (handyman Keith repo'd his before the floor was finished). To make a long story short, I ended up buying a little three-gallon compressor from the always high-end Harbor Freight. With one of their coupons, it set me back a whopping $39.99, which is insanely cheap (THIS is it, if you're interested). I borrowed a 16 AWG trim nailer from John (which made me wish I had Keith's nicer one- this one sometimes doesn't fire the nails, which is super annoying). Anyhow, doing baseboards and quarter-round isn't hard per se, but it's tedious... zillions of angled cuts with John's compound mitre saw. It's super easy to get confused on which direction the angle of the cuts is supposed to be, so you tend to screw up a lot, which is partially why I wildly underestimated how much baseboard I'd need, so I had to make a second trip to the Depot to buy more.

For reference, pretty the same shot when I moved in. Yuck, it's like a poopy brown cave! Unfortunately, this is exactly how all three bedrooms currently look- someone really loved shit brown.


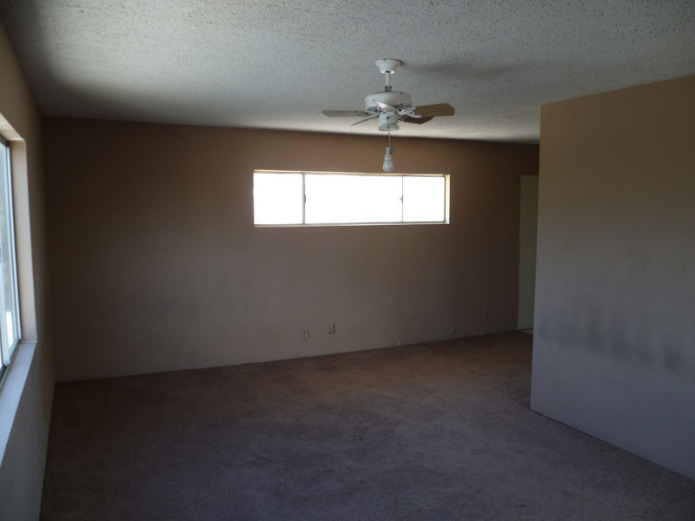
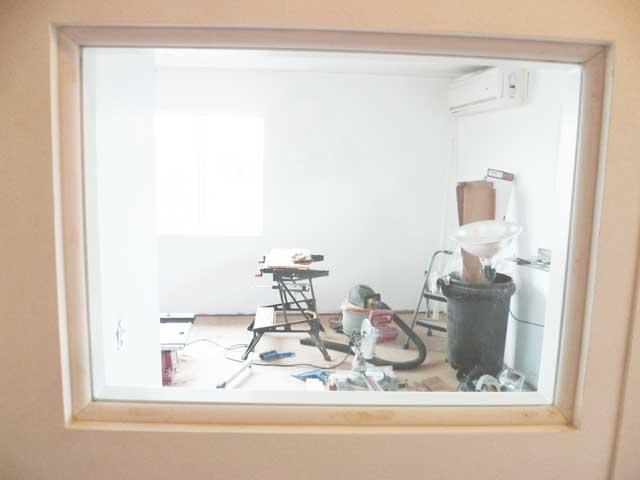
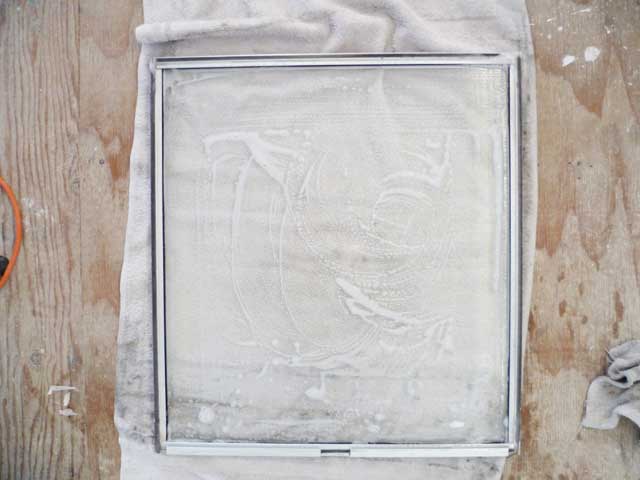
In case you were wondering, those zillions of cuts make a LOT of sawdust (though much of this was from cutting the laminate floor planks):


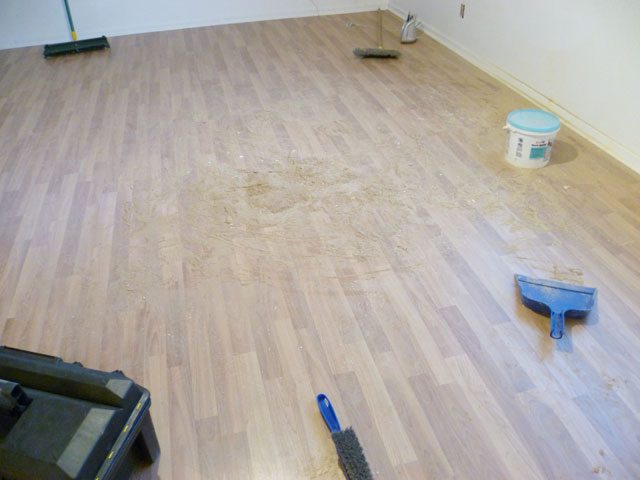
This is after I picked up the 10,000 little scraps and swept up a considerable amount. I had to towel down the walls too. Only thing left now is the also-tedious task of filling, sanding and paining all the nail holes (I initially painted them all outside prior to installation to avoid the mess and muck of paint you see in most houses).

Some fun details...

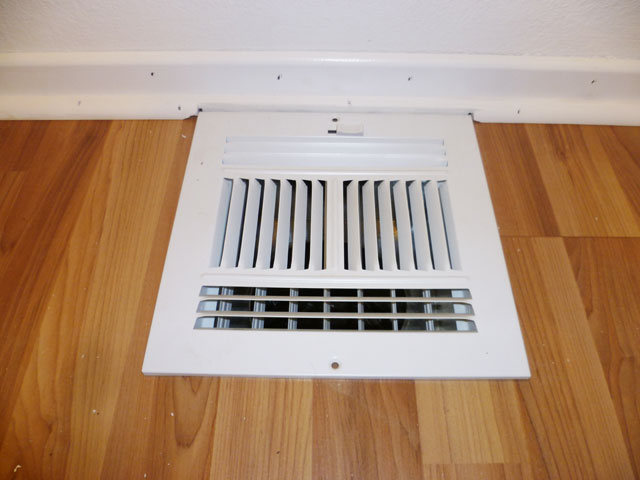
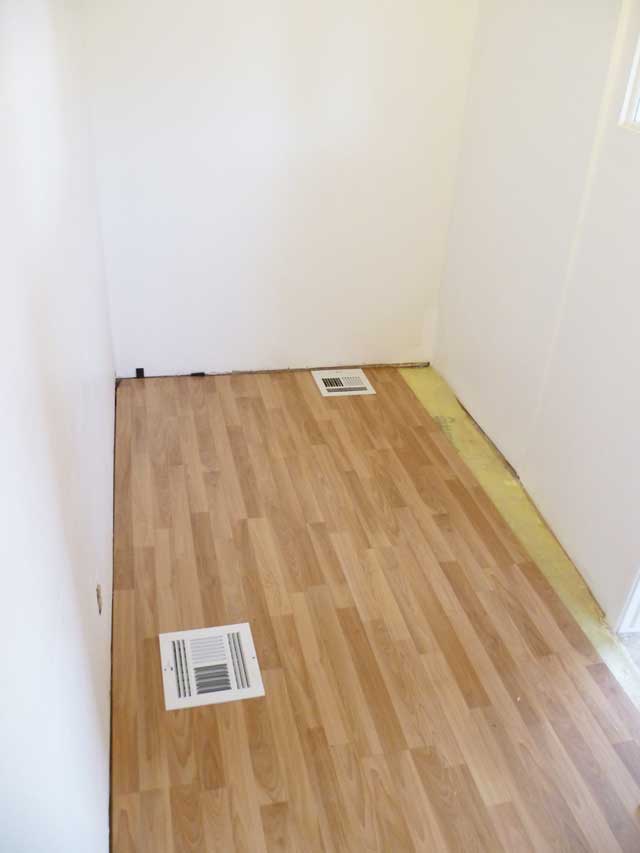
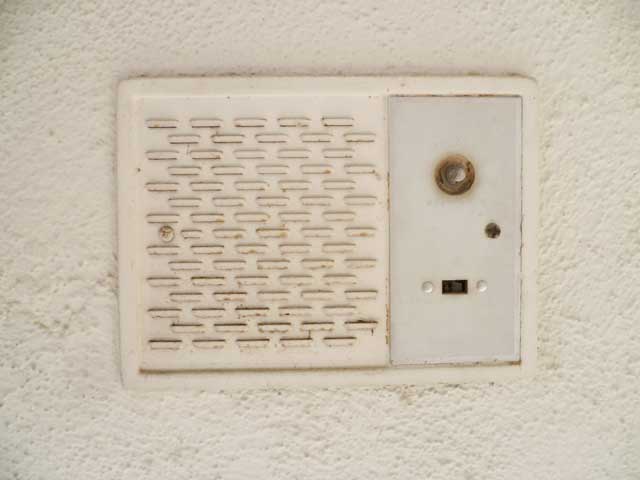
Not sure I photographed it that well, but I had to do a tricky indentation into the quarter round to accomodate this vent. I did it with the table saw (not really the ideal tool for the job, but you use what you got), I think it came out pretty good.


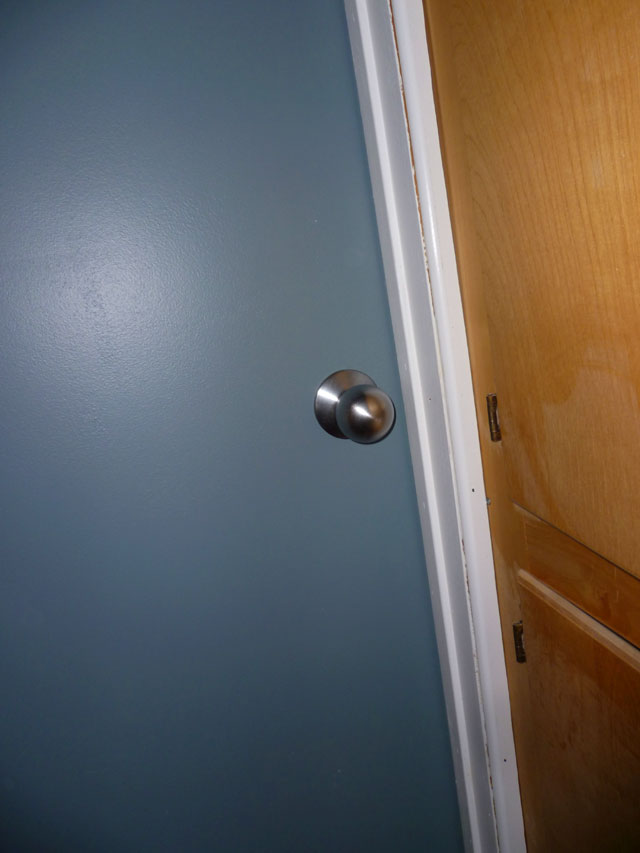
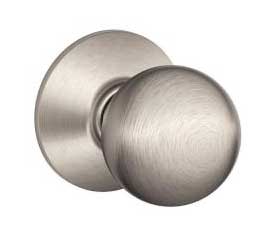
Remember me yabbing about vintage-looking brushed nickel Schlage Orbit door knobs? Here's one of the ones I ordered, installed in the newly-painted closet door in the studio. BTW, the piece of trim on the door frame was also tricky because the moulding was too wide to fit, so I had to rip it down with the table saw to make it fit. This would've been easy, but of course the width wasn't consistent. It was the same at the top and the bottom, but the cabs sort of bulged out in the middle, so I marked the moulding on the back, connected the dots with a straight edge and cut it freehand with the table saw (there was a fair amount of that kind of thing with the laminate floor too, it's easier than it sounds). As you can see, it still needs some filling and paint touch-up. Eventually I'll replace the hinges on the cabs with silver ones and paint them the same blue; currently they're just raw wood.

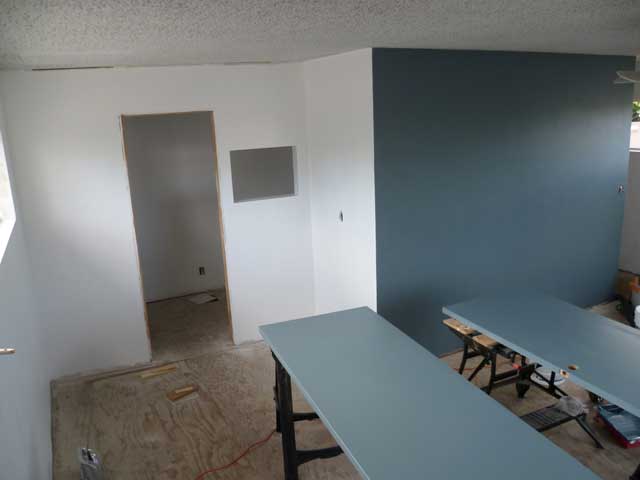
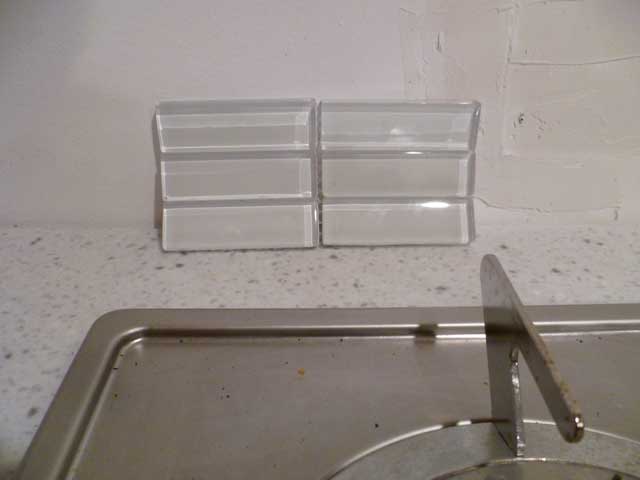
Below is the doorway to the vocal booth room. I haven't re-installed the door yet (weighs a ton and still needs a little work), but I wanted to show the nifty "rubber bump" threshold I got for it. Cutting it down to the correct width with the circular saw was not much fun, and when you're done, you have to sand off all the prickly pieces of excess metal with a rotary tool. Wee.

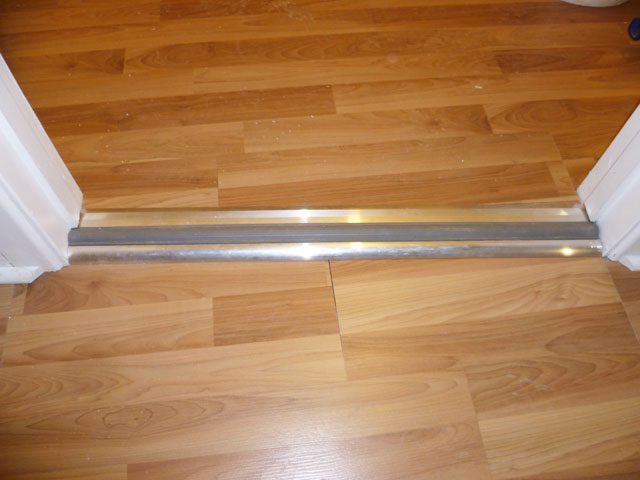
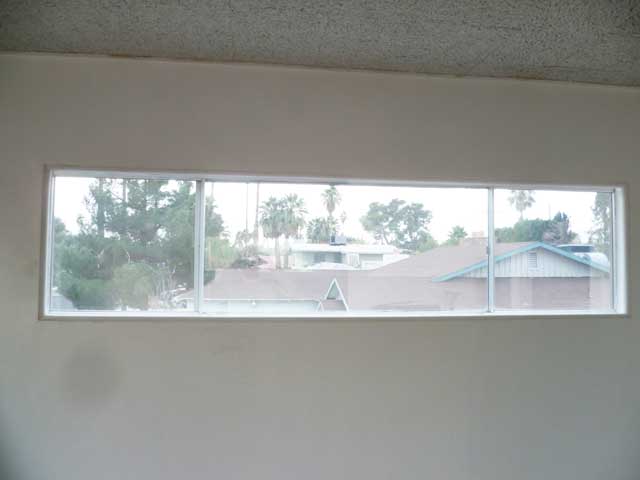
Next thing for the studio is lighting. As you can see in the top picture, it still has that atrocious ceiling fan with a dangling bulb. I've decided to do recessed lighting (yes, I love me some recessed lighting), so I'm just gonna pillage some of the five-inch cans I had intended to install in the family room (I'll buy more later). There's no attic access up there, so I'm going to play it safe and engage the services of handyman Keith. After that, I'll offically relocate my studio from the wee bedroom it's in now to up there... can't wait.

In unrelated news, AllModern finally got me replacements for my schmance Calligaris barstools. If you recall, there was an ongoing saga with the originals because the screws that held them together didn't fit in the metal inserts. Only took five months to get that worked out! I still have the other pair that are messed up so I have get them to send UPS to pick 'em up, and I'm pretty sure they've charged my credit card twice, but they've been relatively cooperative, and they even gave me an extra 30% off for all the trouble (which in truth was really all the manufacturer's fault, not theirs).
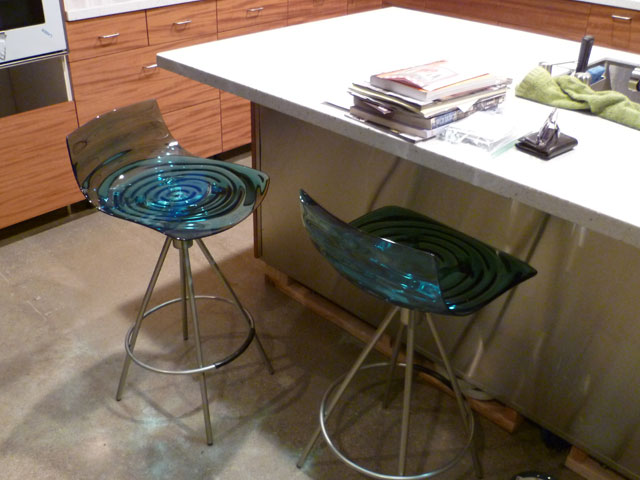
Tuesday
Dec042012

if I wood, wood you?

 Two major developments in the evolution of Upper Deck Studios (I think that's gonna be the official name; bonus if you get the really disgusting joke in there)...

Kinda hard to make out in this pic, but Handyman Keith and I installed the secondary front window Sunday. This is conceptually similar to the side windows, but instead of using a solid piece of glass, I ordered a modern version of the existing window (large immobile pane in the middle, smaller openable panes on either side) without any "nail fins" (that's a metal tab that sticks out so you can screw it into studs). This way I'd still have openable windows, you just have to open two separate windows. We dropped the new window onto the sill behind the existing window (in front of, I guess you'd call it... inside!) and screwed it in. This is tricky business because the somewhat-flexible frame needs to be really straight and true, otherwise the sliding windows won't open/close and seal correctly. This is the part Keith is really good at (and I'm not). Also, instead of cheesy single-pane glass like the originals, this one is double-pane low-E awesomeness with gas layer in the middle, so it'll block heat effectively. I carefully caulked and sealed all the quarter-round trim as well. With three panes of well-sealed glass, the noise transmission level is tremendously reduced. Hopefully this will prevent much sound from getting out and allow me to be semi-loud at all hours. Oh yeah, and getting the 4x8 ft window upstairs was far less traumatic than I expected. The two sliding side windows easily come out which made the weight go from oh-shit heavy to something manageable, and unlike carting drywall up there where whacking the corners is death, it wasn't such a big deal here.

Far more obviously...  there's like, a great big laminate wood floor. I'm not done, but I'm about 2/3 across the main area. As I expected, doing a big rectangle is a lot easier than doing a small room with an angled wall. This is a "floating" floor, i.e. it's not affixed to the subfloor. I know that sounds like a recipe for disaster, but in reality, it all locks together and is so heavy that it can't move. Once I learned the voodoo involved in making it lock together correctly, it was pretty easy. By far by the biggest pain (literally and figuratively) is that I have to run downstairs to the garage and grab forty-odd pound boxes of flooring every ten minutes.

Rewinding for minute, John came over Saturday and helped me finish the flooring the vocal booth... this was super tricky because of the angled wall and doorway, requiring some fancy angle cutting/notching/measuring. I only screwed up a little, but not in any really noticeable way, just some wasted flooring material. The not-so-fun part is that I get to do the angled wall/doorway notching cutting madness all over again for the other side of the doorway in the big room. There's also a little walk-in closet that I haven't posted pics of; I haven't decided whether I'm gonna do wood in there or not. I might just puss out and do cheapo 12x12 vinyl tile.

Saturday
Dec012012

bloggy catchup

I've actually gotten a lot done in the last couple weeks, just haven't been totally on top of blogging it, but I figure it's better to lag on the blog than the actual work, right? When we last left off I was madly washing the side windows in the studio in preparation for the "second glass" to be installed inside.

Picking up 2'x8' pieces of glass by yourself is kinda dicey business, but the (sort of) good news is that it's tempered glass which means that if you break it, you (in theory) end up with a pile of very small and non-jagged pieces, so your risk of impaling your pulmonary artery, for example, is relatively low. Since the sun is like, bright and stuff in here in the desert, I decided to tint the glass with Gila Titanium Heat Control tint. This is apparently the best stuff for blocking heat, low-E, blah blah. The tint was kinda pricey ($50); since the glass was actually a little narrower than 24", the idea was to buy one 4'x15' roll, lay it across both at once and cut it down the middle. As you can imagine, this necessitated some fancy footwork during install. Complicating matters, the tint has a clear backing on the adhesive side that has to be removed prior to application, so the idea is, peel that off, flip over the entire 4'x8' piece while keeping everything very wet with soapy water spray bottle, don't crinkle anything and don't panic, then carefully razor blade the whole mess down the middle to separate the two pieces, all of which I miraculously succeeded in doing. It should go without saying that this all would've been much easier with another body, but I was the only one here and managed to do it myself. Below should explain this much better than the preceding run-on sentence mess. This is right before I cut it in half and squeegeed out all water/air bubbles/flattened it out.

Once all that's done, you let it dry for a day and razor blade the excess off the edges. BTW, I should mention that they expect you'll be applying the tint to pre-existing windows- the fact that mine 1) weren't in frames and 2) were horizontal made this job a lot easier. It was only hard because they're so big.

Really Lester, feel free to use delicate pieces of newly tinted glass as a daybed. And yes, he did manage to leave a minor claw mark in it (there isn't currently a door to the upstairs room, and it didn't occur to me that dumbbell would want to lay on the glass). Fortunately he didn't hurt anything else.

Couple days later Handyman Keith came by, and we installed them. Basically they're held in by pieces of 3/4" quarter-round moulding in the back and the front. Keith and his awesome measuring skills set it up so the quarter-round sits flush with the wall so it looks pretty slick. As mentioned, mucking around with pieces of glass this large really puts hair on your chest!


It's kind of hard to get a good picture when you're shooting out a window (you can clearly see me in the reflection), but this should give an idea of what it looks like. And yes, I stuck a silver rubber alien in there. Forever (actually, one could theoretically open the window from the outside and remove him if necessary, but that would entail a ladder).

In the midst of all that, Keith helped me finish the booth window. Hard to tell here, but there are now two pieces of glass in there, held in pretty much the same way, but I installed a "border" of 1x2 in the middle. The hard part is cutting the quarter-round, because it's really easy to get confused cutting the 45-degree angles properly. It's time consuming too because you can't really just measure and cut, you have to estimate then keep cutting off little slivers until things fit correctly. Fortunately John loaned me his Harbor Freight Compound Mitre saw, which is great for cutting all manner of angles (you can see it on the floor in this pic). There's a whole lot of edge/corner caulking and nail patching fun after the fact too. As you can see in the pic, the nail holes are all patched up but I still have to touch up the paint. The good news is that with these windows you don't have to be careful about getting anything on the glass because it all comes off easily with a razor blade, but I don't have that luxury with the big windows because a blade would harm the tint- on those you just have to be really careful!

In case you were wondering how one nails a piece of quarter-round into place without smashing the glass, the answer is "pneumatic nail gun", which is also the awesomeness. Keith brought over (and kindly left) a small Porter-Cable air compressor and nail gun. It's a godsend for this kind of job, as well as installing moulding (more on that later).

This leaves the big front window. I spent about two days removing old crusty/paint-oversprayed tint and residue from that mess- that was a massive and tedious undertaking. Unlike the side windows, this one is a "standard" window that will be openable. It's currently in my family downstairs ready for install. Handyman Keith and I have to wrestle this monster upstairs (it's 4'x8', heavy and unwieldy and promises to be a dicey affair), then we'll install it. Stay tuned for that.

Holy moly, a wood floor! Actually a laminate wood floor (i.e. fake wood) in the booth. There's a whole big long story about acquiring this, but suffice to say, I have all the laminate for the studio, and installed this last night in the booth. The yellow part isn't done yet (that's foam underlayment), and that'll be the tricky part because the wall is angled there. The other tricky part was cutting the holes for the HVAC heating inlet/outlet, but as you can see, that's done. It entailed a fair amount of mucking around with a skilsaw and a oscillating cutting tool. Laminate floor is really heavy (I have about 800 lbs of it in my garage, literally) and installing it entails much crawling around. My back is not so happy now. I'm gonna try and finish the booth floor today.


In the meantime, I was looking for a convertible sofa/futon for the studio as a kind of "kickback" couch at the back of the room, as well as a makeshift guest bed if the need arises. I searched the internet like mad, and as usual, found lots of things that cost way more than I wanted to pay. Who would've guessed I'd find this cool thing at Target, of all places. It was online only, and was on clearance sale for half-off... would you believe $99? (plus $50 for shipping, but still a really great deal). You wouldn't mistake it as fine furniture, but it's surprisingly comfy, and the two sides are independently adjustable, which is kind of neat. Kim likes it and the cats insanely love it. (btw, it's not as purpley as it looks in the pics) I don't plan on moving it upstairs until the floors are all done, but Kim wants me to leave it downstairs permanently! Apparently Target sold out of them as I can't find it on their site now, but it's the same as this in a different color scheme.


Allllsooo.... piano guy came back yesterday, tuned the piano again, installed the missing trim parts, and more importantly, finally made the sustain pedal operational. If you don't play, this probably won't mean much to you, but trust me, a piano without a sustain pedal is kind of like having a really cool car that only goes 40 MPH. So much better now!

And finally, see all that crap on the fireplace mantel? That's three boxes of awesome glass tile for the kitchen backsplash, so that's going up pretty soon too. Projects galore!

Friday
Nov092012

studio city

I've been a buuuuusy little beaver. Mainly I've been paint paint painting my studio. Since it was all shit brown in there (except the new wall I built), the procedure is primer, then two coats of Really Expensive Behr Ultra White Self-Priming Enamel (the "self-priming" part kinda goes out the window when you're painting white on brown), so essentially you end up painting everything three times. The plus side is that the room has ceiling tiles that I'm keeping, so I don't have to paint the ceiling, and the floor is presently raw plywood, so you don't have to be concerned about getting paint on the floor (I'll be installing a laminate wood floor soon). For those who don't like reading all those troublesome words, boy do I have a bunch of pics today!

As you can see in these "stand-on-stepstool-in-the-corner" shots, the walls are done and I'm painting the doors the same slate blue as the wall. One of them is the crazy heavy solid-core one I got for the vocal booth and the other is the existing hollow one for the storage closet that you can't see in the pics. I took them down so I could make all nice and perfect (i.e. no paint on the hinges). I also bought brushed-nickel hardware for them- Lowe's actually has nice silver hinges, but I had to order the O.G. mid-century Schlage "Orbit" knobs- they sell them at Lowe's and the Depot, but not in brushed nickel (they're cheaper online anyway).

There are other options for slick minimal door knobs and levers, but they get pricey real quick, and I'd guesstimate there's something like 20 doorknobs in my place, so I'll stick with the sub-$20 ones, thanks. The other plus is that they've made this style forever so there are lots of variations- everything from the dummy ones I'm gonna use for my latching studio door (I don't want make a big hole in it) to a beefy locking one for my front door.

Besides the paint party, I've finally started working out the window situation I've been planning forever up there. There are three windows in there and they're pretty big- two 2'x8' ones one either side and a 4'x8' one in front, all with a stationary piece of glass in the center and sliding panes on either side. Problem is they're old-school single-pane windows thus they do a poor job of insulating from weather and sound. The weather angle is especially bad because, being an over-garage addition, it has no "interior" walls, i.e. all four walls get hit with the elements. And from a sound standpoint, I'm not concerned so much with sound coming in as I am annoying my neighbors when I'm banging away doing music at 1:00 AM. The logical solution would be to just replace them with modern dual(or triple)-pane windows. They're sort of pricey, not crazy (probably around $600 for all three), but removing and replacing three relatively large second story windows is no trivial task, certainly not something I'd take on, and would probably tack another $1000 or more onto the proceedings. With this in mind, Handyman Keith and I came up with another idea- it's sort of ghetto in a way, but we think (hope!) it'll work. Basically the idea is to leave the existing windows and add an additional window "inside" as it were. For the big front window, we essentially ordered a regular window like the one already there, but with slightly funky hardware so we can mount it from the inside. This one will be double-pane glass and low-E (excellent sun blocking), so I'll essentially have three panes of glass with around three inches of airspace in between (this is a good thing to have for weather and sound isolation). The only weird thing will be that I'll need to open both the front and back windows to actual open the window, but that's ok.

Since we'll already have a giant openable window in front, we decided to simply install solid pieces of raw 1/4" tempered glass (above pic) in the openings of the side windows, held in by 3/4" quarter round. Besides being a lot cheaper than regular windows, the idea is that sound and weather get in through all the cracks in a regular openable window, so this averts that issue. The only issue I can see is that I'm actually violating building code because all windows are supposed to open, but the reality is that if the place is on fire, I wouldn't be going out of my way to jump out of a second-story window, and if I did fling my firey self out, I'd use the huge one, not the high-up two-foot tall ones. These aren't low-E (because it's a delicate coating that has to live between two pieces of sandwiched glass), so I'm gonna tint them with something not dark but with lots of UV blocking. Doing the tint will be super easy because I'll do it before we install them- just stick it on the glass and trim the edges.

That's the good window news. The bad window news is that I'll essentially be making the inside of the existing side windows permanently non-accessible... this means they better be REALLY damn clean before we put in the new glass. And this place being, well, this place, they were all FILTHY. Frames, glass, hardware, everything. So.. for the last two days, I've been cleaning them like mad, which is tedious as hell. And just for extra fun, I couldn't get a couple of the sliding ones out. The window frames actually have shrunk slightly due to structural setting, so I had to cut notches in the frames with a Dremel tool to allow the bottom glides clearance. Even with that I had to wrestle them a bit which is pretty exciting when there's glass involved. Anway, here's what I was doing a lot of:

Not only were they dirty, but whoever painted the house previously wasn't too concerned about overspray, thus there was a fair amount of paint to remove but fortunately that stuff comes off easier than you'd expect. Still, there was a substantial amount of elbow grease with a scrubby sponge, Scotchbrite pad, soap, Windex, etc. And since the middle part of the windows aren't removable, I had to reach outside, and still couldn't reach all the way to the middle, so I'll have to rig up a squeegee on a stick of some sort to finish that. 

The side windows and all frames are all clean now and I painted the sills as well, so they're pretty much ready to have the new glass installed. We're still waiting for the glass place to get the big window for the front, so I haven't taken on cleaning that one up yet. In case you were wondering, here's what the view out the front looks like:


In the midst of all this, Handyman Keith was here finishing off the stucco for the sliding glass doors I had installed months ago:

It looks pretty perfect, but obviously needs paint. He finished the big one in the back of the house too, but I don't have a pic. He needed three 80lb bags for the whole job! We also figured out (by examining stucco) that there used to be another window on the side of the house near where my piano sits. Who knew?

While Keith was doing the stucco job, I though it would be a good time to yank out this fossil, an intercom next to the back sliding door. Not sure what it attached to as there's no evidence of any other ones in the house, but I yanked it and Keith stucco'd the hole it left behind. Goooood riddance.


Here is the apple pie my very nice neighbor made for me. Seriously. Who does that kind of thing in L.A.? It was really good too.

While juggling all this mess, I've also been tracking down tile for my kitchen backsplash. I ordered a sample which is below. Might not be obvious in the pic, but it's 1"x3" clear glass with a white background. I need three boxes, and the con artists at Floor & Decor are going to charge $130 to ship it. I'm not pleased about it, but after crazy research, I don't think anyone else on the planet sells tile like this.

 Next episode, I'll be taking on the floor... stay tuned...

Thursday
Nov012012

you light up my life/security

Though I'm actually in the thick of upstairs studio room paint/reno madness mode, I took a break today. I've been staring at this staggeringly cheap 'n' ugly monstrosity of a light over my front porch for a year, so I finally decided enough was enough (there's a huge window next to my kitchen table that looks right at it). It's even worse than it appears, because the entire thing is plastic. You can even see where one of the "panes" is melted somehow. Yuck.

I replaced that hot mess with this swell Ikea "Fado", which previously lived over my kitchen table at my old apt. Though technically an indoor fixture, my entryway is a large-ish covered affair, so it's not likely to be damaged by weather. BTW, these minimalist globe fixtures are textbook Eichler-esque and I have no idea why Ikea stopped making them. You can still get similar ones from other makers but they're way more expensive (they still make the tabletop version- I have two of them in my bedroom). This fixture was designed to hang relatively low, so I did some minor modifications to put it closer to the ceiling- basically just removing a brushed metal tube that used to hang down, as well as pulling most of the previously exposed power cable up and shortening it.

And while the power was off, I figured I'd excise the equally hideous fixture inside the entryway. In a way, this one's even worse, because it was most likely installed right before I bought the place, meaning someone decided that this brand-new ugly crap was a good plan. Try not to look too hard at the ugly yanked-off wallpaper walls. Gotta prep and paint those.

Its replacement is this nifty three-CFL guy I picked up at Ikea. It appears that I need Wisk™ for ring-around-the-ceiling where the old one used to be- looks like I'll be painting the ceiling too. (I would've anyway... see that HVAC vent? Really bad things happen to the ceiling when you yank those out, and that painty-caulky mess is getting cleaned up and painted silver before I'm through.)

I also foolishly attempted to get the non-functioning doorbell working, to no avail. Turns out the wires to the actual bell part went into the coat closet and weren't attached to anything. They just sort of led to the vicinity of this:


Feast your eyes on this Hot Mess of Security! This hasn't even come close to functionality since I've been here- this is exactly how all the wires looked when I moved in. See all those screw terminals? Wires would be screwed to those if it worked. You can see that it dates back to 1996, and those wires are ALL over the house (I've been yanking them the whole time I've been here). I'm sure the original owners paid a pretty penny for this quagmire of wire. I added my own revisions:

... and relocated the whole mess to the garbage can. So if you know my address, feel free to come on down and bust into the joint. You can make off with my piano or fridge. Annoyingly, the one thing I couldn't locate was actual electricity, which would've likely helped my doorbell quest. There aren't any electrical outlets in there either. There's a light which doesn't work, and I can't find a switch for it either, but once I get that going, I presume I can tap 120v there and get the freaking doorbell going.

Page 1 ... 3 4 5 6 7 ... 22 Next 5 Entries »