
One down, several to go.
Roughly six months back, I posted about the middle bedroom. It was a hot mess back then, but lest y'all think I've been doing nothing for the last six months, I've actually been slowly whittling away at it, and hallu-however-you-spell-it, it's done. (Have a look at the previous post to see what this room used to look like.)
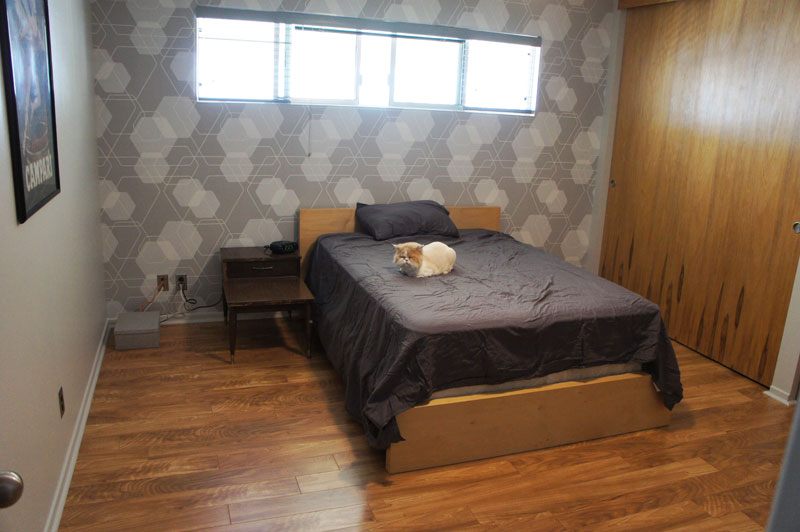
For starters, I installed the laminate wood floor. I bought a TON (probably literally) because I wanted the floor in the master bedroom to match, so there's still another 500-ish sq planktons of this stuff complicating motorcycle parking in my garage. I did the install myself, and this was probably my last DIY floor install, because I hate doing it. And once you install the floor, it's even more tedious installing new baseboards and quarter-rounds. That said, you can't beat pretty, freshly painted baseboards (that don't have thirty coats of accumulated paint) for that new car/room feel.
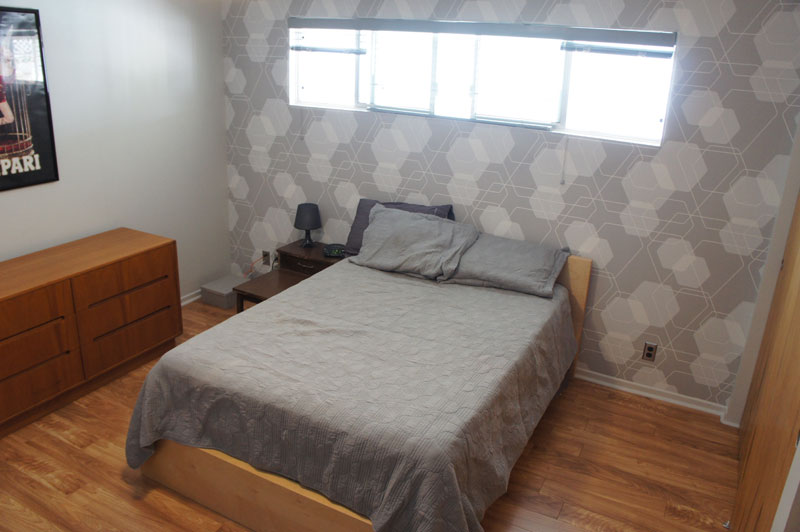
Also clearly evident in the above pic is the fancy-pants wallpaper I procured from Germany. My friend commented that it was "very Stanley Kubrick," which warmed my little heart. The guy I found to install the wallpaper did a great job, but he charged a little too much and talked WAY too much. He also gave me quote of five grand to remove the stones from my fireplace hearths and concrete them. Oh yeah, that'll happen.
The window is also brand new; same 2'x8' OXO format as the old one, but modern double-pane, low-E glass. The way it fit left a sizable gap on the inside which I fixed with a sort of flattened quarter-round trim. More fun with angle cuts! (and reason to use the new Kobalt miter saw I got over Christmas). Also ordered and installed new blinds (the window previously had some hideous shutters that were falling apart). This time around, I discovered the miracle of multiple horizontal blinds (aligned to each window segment), all on one rail. Wish I knew about this magic when I did the studio upstairs. A little difficult to photograph during the day, but trust, me they're gray. (If it isn't apparent in the pics, the wallpaper is multiple shades of gray, and I had the paint place match the lightest shade of gray for the walls).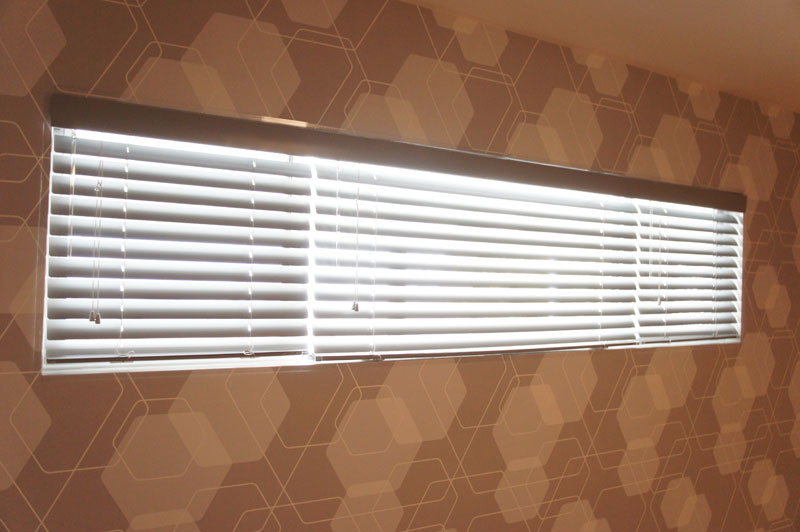
Let's talk closet doors... way the heck back I built DIY closet doors to replace the hideoustastic mirrored jobbies in there. They ended up leaning against the wall for a year-and-a-half, but they're finally up. Along the way, I learned that leaning them was a bad plan, because they a bit from top to bottom, but fortunately not enough to make them unusable, and it's not really too noticeable.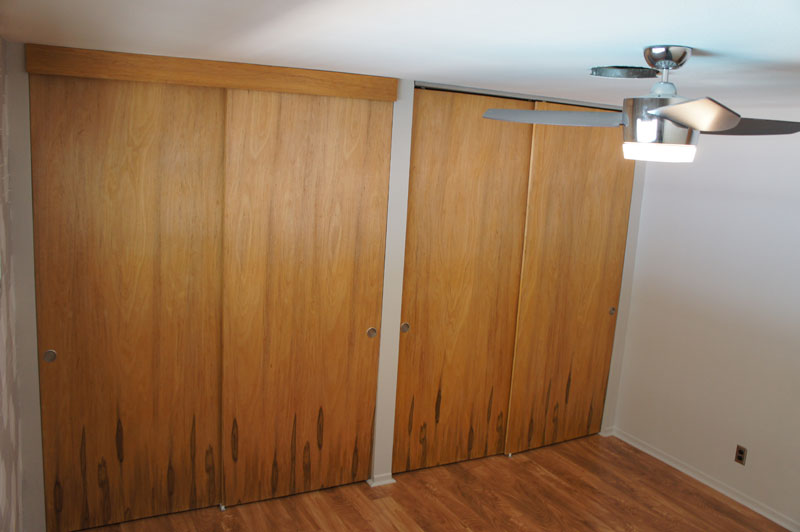
You may notice that the right set is missing the trim piece on top. After I tore the house apart looking for it, I realized I never actually made the second trim (I found the piece of luan plywood I had intended to use, because it was pencil-marked at the correct dimensions!). Anyway, that guy is in the multi-day stain/poly finish process, and will be up soon. One big change I made was that the original doors slid along a track at the bottom, but I got rid of the track and used hanging hardware instead. I hung them because I wanted the laminate floor to run continously into the closets. If you look close, you can see the guides on the floor that prevent the doors from swinging forward and back. I actually double-stick taped the guides because I wasn't thrilled with the idea of drilling holes in my newly-installed floor!
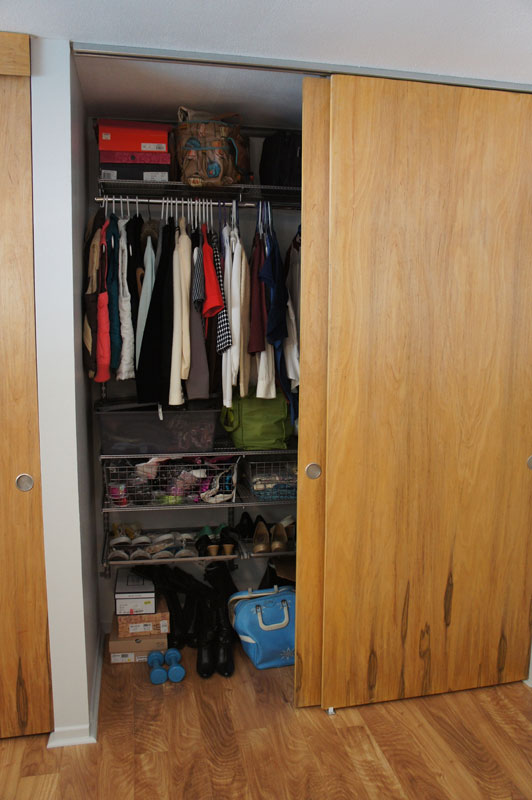
I installed a fancypants Elfa closet organizer in the right closet, courtesy of the pushy salesfolks of The Container Store. It isn't the cheapest solution, but I quickly discovered that replicating the same kind of thing at the big box stores is no cheaper, so at least you have tons of options with the Elfa setup. This was mainly done for Kim, as she was kind of lacking places to put her stuff.
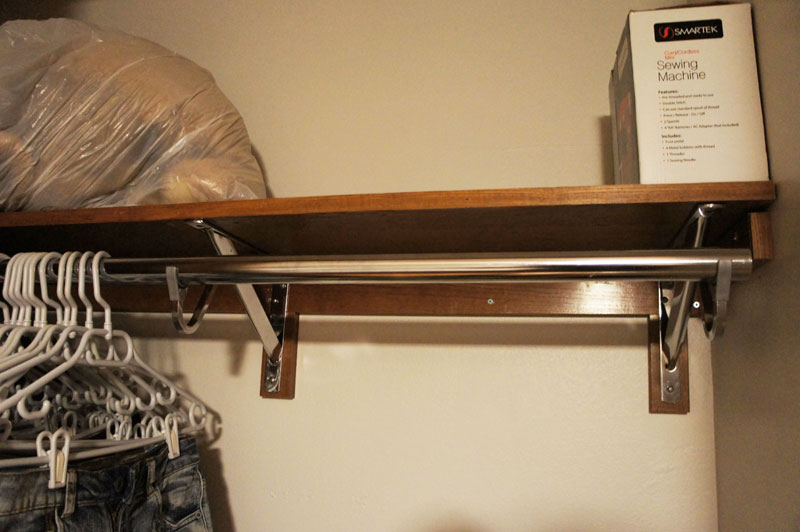
I wasn't sure we needed to go closet organizer crazy with both, so I built a basic shelf and rod arrangement in the other closet using salvaged wood from the giant built-in I tore out of the room. Not only am I Capt. Recycle, but it was all stained real nice, so it looks classy. This was also another opportunity to go nuts with my new miter saw. I only had to go to TWO Home Depot locations to find four of those brackets in silver. (this being another example of "the world is your oyster if you like brown, white, gold, brass, or beige")
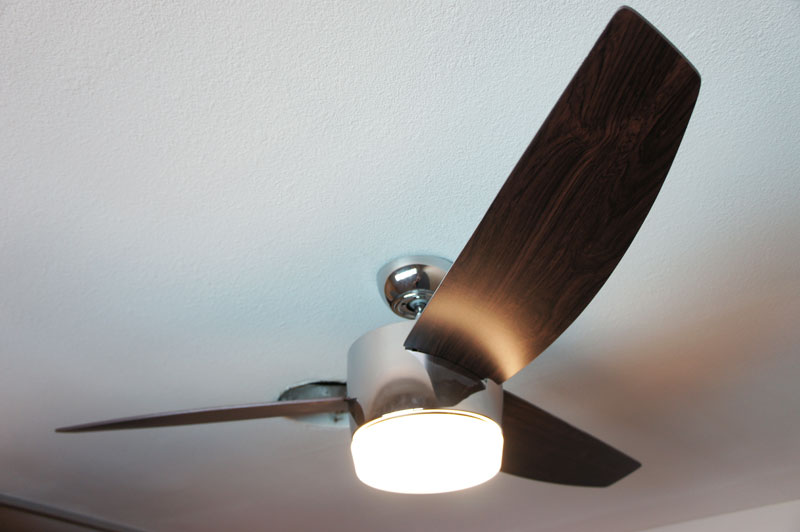
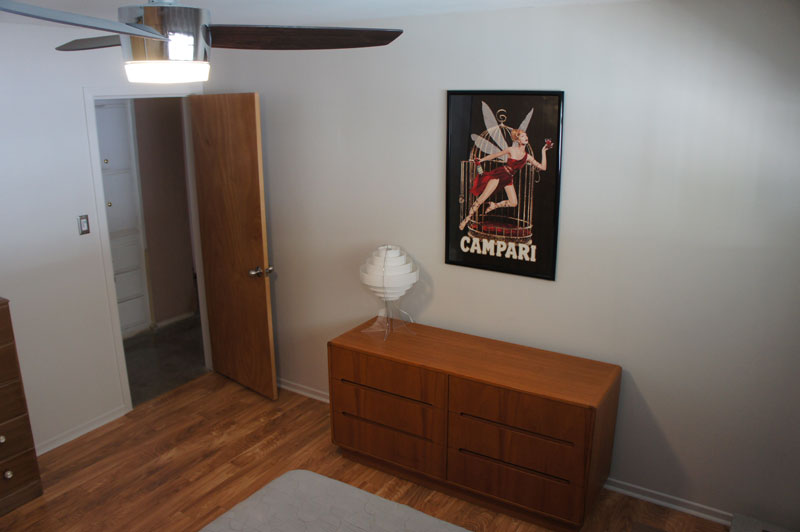
I talked about the fancy fan in other posts. We had to move the location of the old fan, because the nitwits who originally installed it apparently were unable to unravel the elaborate mysteries of locating the center of a room. Ugh. Other than wishing the blades were a lighter shade of fake wood (that's a good name for a song), it's elegant and lovely, and far less offensive than most ceiling fans. You can see the HVAC hole in the ceiling where I still need to get a vent cover. I want it to be square, because round ones work poorly, so that's probably gonna be a pain.
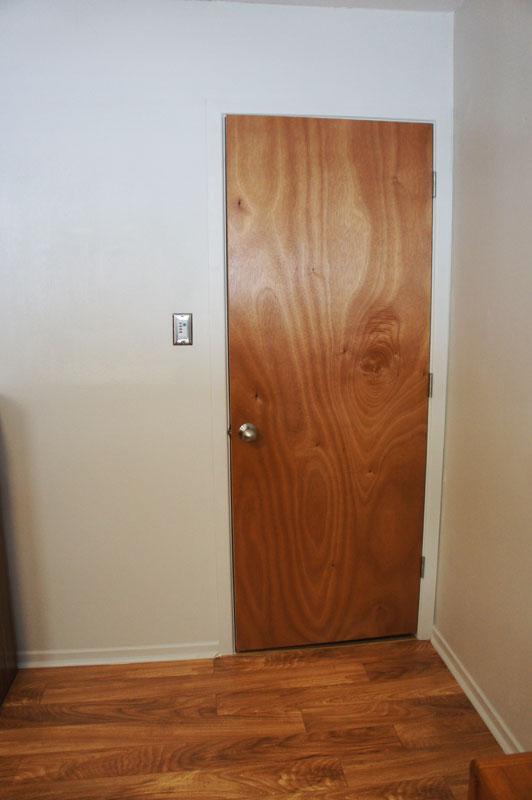
I also replaced the door. The orginals all have 14 coats of paint, and I really wanted the wood vibe. Since there are four other doors nearby, and doors get pricy quick, I went with basic luan slab, stained with my beloved Watco Danish Oil in Golden Oak; it's a pretty swift way to spice up a cheapo door. I had handyman Keith install it, as door alignment is somewhat of a black art, and he's really good at it. Like all other new doors in my house, it's got the classic Schlage Orbit knob in nickel and matching nickel hinges. One day I'll have all the gold and brass out of this place!
 The bed and night stand are kind of temporary... my Ikea Malm bed has been sitting disassembled in my garage for three years (the mattress and box spring has been in my familiy room!), so I put that whole mess back together, as this is intended to be a bit of a guest room. I've grown to really hate what I refer to as "picture of wood on particle board" cheapo furniture, so I'm on the lookout for a nicer bed. We're planning on getting rid of most of what's in there, but we wanted to end up with a wide dresser and a desk.
With the bed in and everything done yesterday, I went snooping on Craigslist for furniture, which is usually a complete waste of time in Vegas (you wouldn't believe the junk people try to foist as "mid-century" here). To my surprise, this guy popped up (listed twelve hours prior):
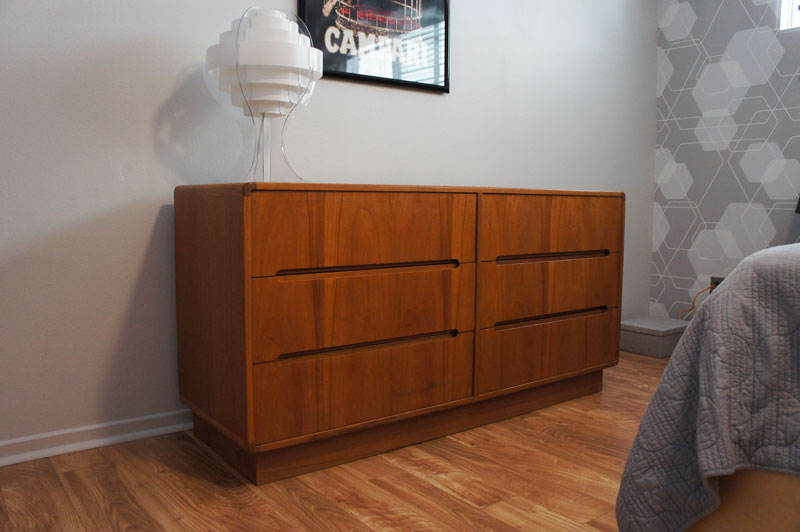
This is a Kibaek Mobelfabrik teak dresser (in other words, some Scandinavian company from the 60s or 70s), for the bargain price of $300. I picked this up from a nice couple in Paradise Palms who got it along with a matching bed but didn't need the dresser. It weighs a ton, and required some fancy footwork to get in the house, but I prevailed. Only let down is that I discovered that it's not solid teak- it's actually teak veneer on particle board, but I'll take real wood veneer over a fake picture of wood any day of the week, and the price was right. It looks a little more 70s than 60s to my eyes, but I still dig it, and can't believe I found this in Vegas.
Here's another "hold the camera over my head" shot. Kim had this neat framed poster, so I screwed a drywall insert into the wall and threw it up. And I had the nifty translucent Ikea lamp laying around forever, so I threw that in there. I'm now wishing the outlet behind the dresser had a switch by the door, but that's certainly do-able in the future.
 Share Article
Reader Comments (2)
Os melhores Cursos Onlines em nosso portal
Os melhores Cursos Onlines do brasil, conheça nosso portal...