
hey, some new crap!
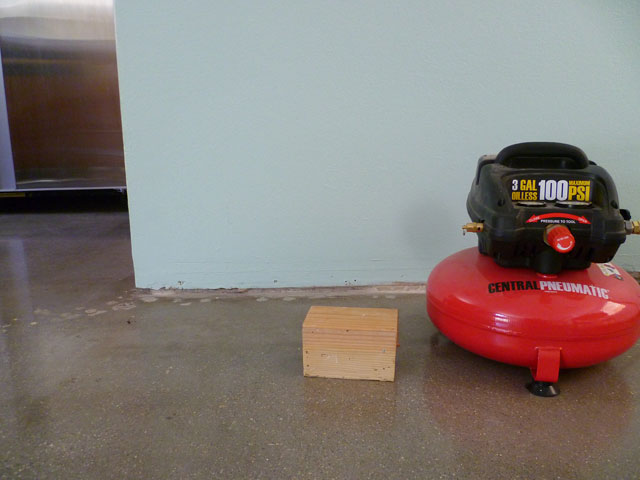
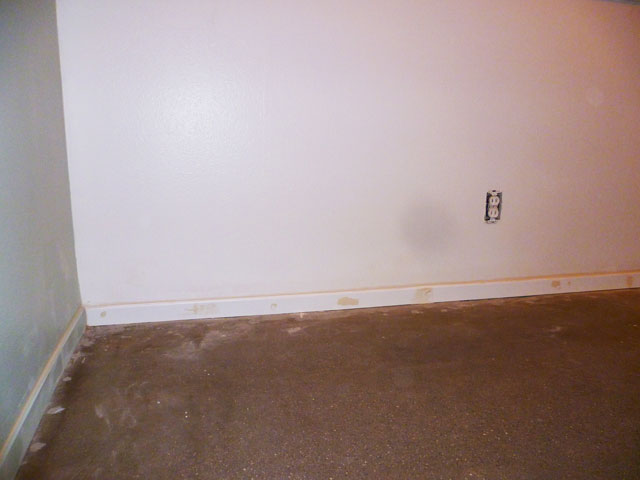
I'm ashamed to admit that I've had the kitchen mostly done since the end of last year, but there are details I've totally put off that I'm finally getting around to. One big thing is baseboards in the entire kitchen and big room... I finally purchased, painted and installed them this week. Here's the "before" with a cameo from my Harbor Freight cheapo air compressor (for Mr. Nailgun):

and after-ish. I say "-ish" because they still need various sanding and paint touch-up of the patches that conceal the nails. I already caulked all the corners, but need to paint that too (at least on the blue wall, not so much on the white walls), There isn't really a big stain on the wall, that's some sort of photo artifact.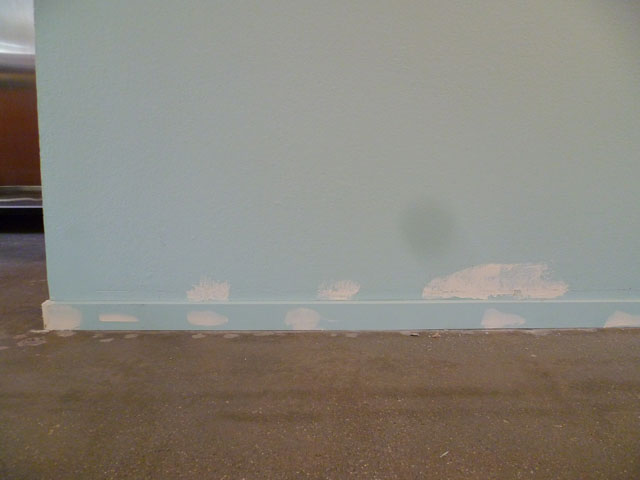
While I was at it I decided to fix some wallpaper mess that I must've been too lazy to fix when I originally painted. I attacked it with a putty knife, so that's why there's patches above the baseboard...
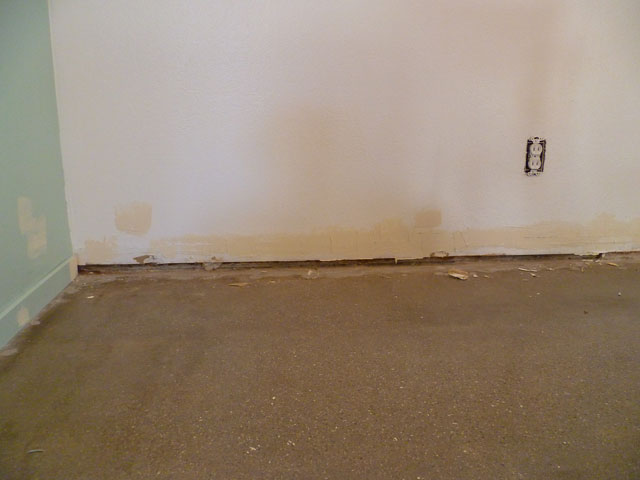
After sanding, painting. The photo is making the caulk look really yellowy for some reason. It's not. Baseboard still needs work:
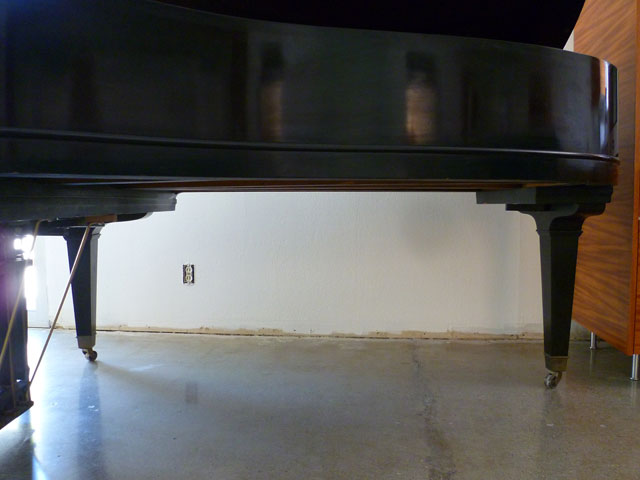
Then I ran into a little problem. Remember this hot mess o' hotness?
I demo'd that guy way back in Novemeber of 2011, and ever since there's been an empty space wherein I planned to add shelving. Me being me, cheap and simple wasn't gonna do; I had to have something expensive and complicated, and I found it in Hunter Wimmer's Redneck Modern blog- basically this (hopefully he doesn't mind that I'm stealing his pics):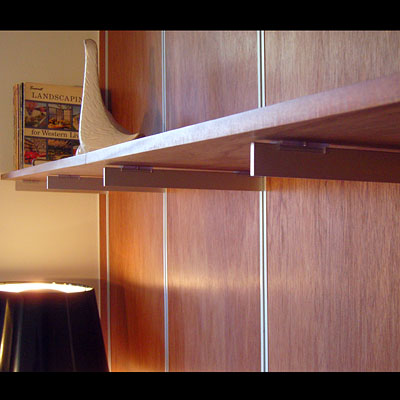
What's goind on there is he's essentially built a false wall- the brackets (from Rakks) are pretty much like any run-of-the-mill slotted brackets you get at Home Depot, but they're designed to countersink. And they don't actually have visible slots, because they use a fancy pin system with the hangers. The pic will explain the countersink much better (also stolen from Redneck Modern). You can read all about his installation here, here, and here if you're interested in how someone who knows what they're doing does things.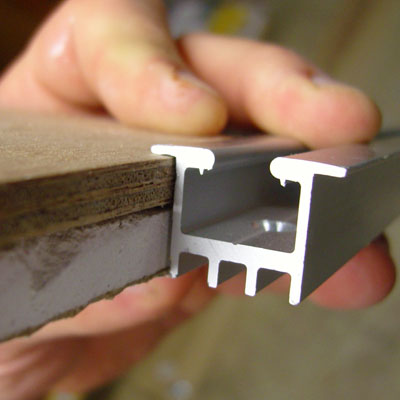
I'm basically gonna do the same thing, but instead of fancy veneered plywood, I'm gonna use 5/8" drywall, painted a festive orange. Instead of attempting to line up the screws holding the "in-between" drywall pieces and the brackets to the studs, I realized it would be far easier to install horizontal strips of 3/4" plywood and attach everything to those. I ripped these down to 3" wide with my table saw... they're leftover plywood from when we demo'd the bay window in my family room: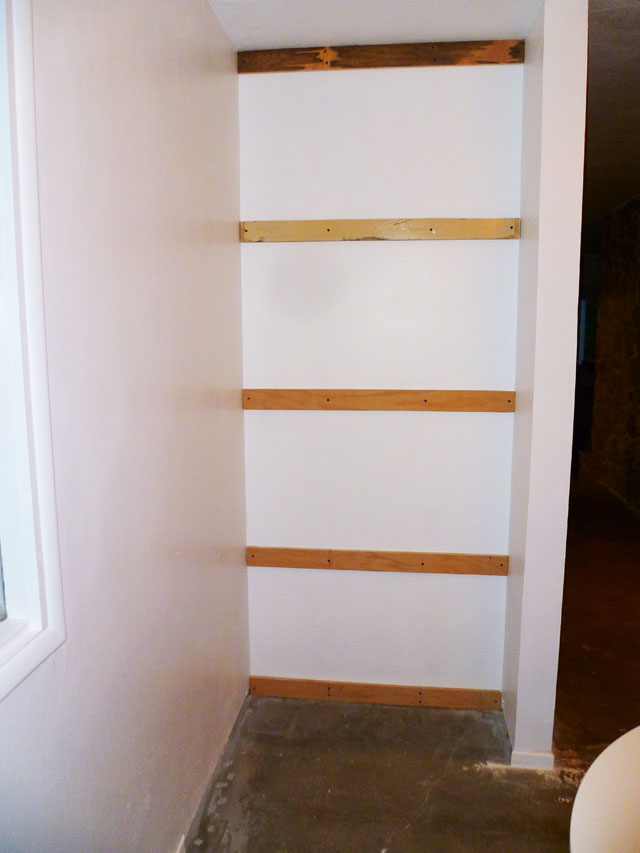
Since the distance from the lip to the back of the bracket is 5/8", I just need to get some 5/8" drywall, figure out the width of the drywall pieces, carefully cut it to the exact width, then screw the whole mess to the horizontal pieces (aka furring strips).
As you can see, the front lip on the bracket gives a little fudge room if the drywall width isn't perfect, but not much. The good news is that this whole mess is 39" wide, and not only is drywall 48" wide, but you have to buy two pieces at a time, so I should have a couple extra chances if I screw up. Once that's all done, I'm gonna get a pricey and pretty 4x8' piece of mahogany-veneer 3/4" plywood, cut out a bunch of shelves and stain and poly them up all nice-like. I'm even considering sawing some slots in the top and bottom ones so I can do little sliding doors, but we'll see how that works out.
"How does this relate to the stupid baseboards", you ask? Well, since I'm doing a false wall that will stick out 1 3/8", I need to wait until it's installed before I can finish the baseboards on the back and sides... which is what motivated me to finally get cracking on the stupid shelf project!
Finally, if the shelf thing works out swell and I don't permanently attach my finger to a shelf with construction adhesive, the Big Plan is that I'm gonna do the exact same kind of thing here, which looked like this when I moved in: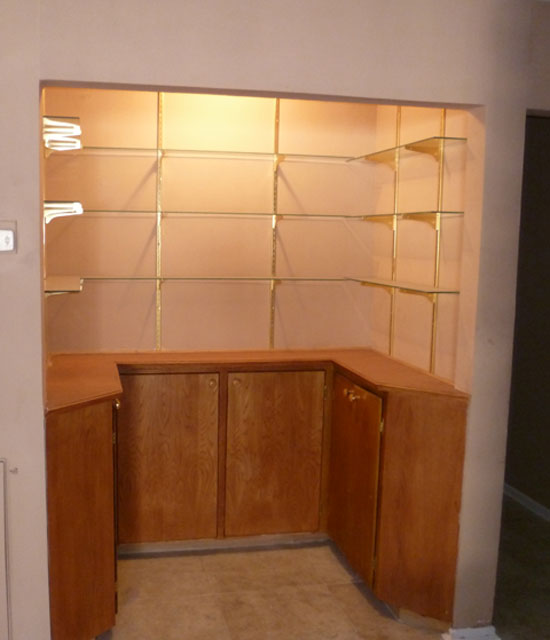
It actually looked pretty nice (besides the gold hardware), but the cabs were so shallow that they were useless for anything other than maybe wine bottles. Currently there's nothing there- floor is polished concrete and walls are painteed white- guess that was wasted time. My plan is to do shelving on all three walls as detailed above. This'll be nice because I still have boxes of books and LP's (remember those?). Wait 'til to see what I have up my sleeve to play those on...
UPDATE: Kim and I figured that the mysterious spot in the pics I took today is probably a splotch on the lens of camera. I am the Barney Rubble of photography.
 Share Article
Reader Comments (1)
don't mind a bit. thanks for the credit.
fwiw // try some minwax rub-on polyurethane if you ever need to refinish the shelves. it's a blend of oils and poly which is a bit more durable than oil itself. my process is danish oil (+ dry time), then wipe-on poly (+ dry time), then wax (i like black-bison, but there are a few out there). technically, you could skip the oil, but you might need it for a tiny bit of color. staining always turns out poorly. its' the same for doors, paneling, etc...
your cat looks badass with that haircut, btw.