
shelf, I need someone.
Still juggling three projects at once, but I'm pretty much done with next-to-kitchen table shelf project. If you're looking for a relatively complicated and expensive way to get some basic shelving, I highly recommend it!

You'll notice the top shelf is missing; I couldn't finish it because I ran out of edge binding (which should arrive in the next week)... this stuff:
(update... new roll of edge binding arrived today, and doesn't match the old. Now I have to experiment with stain colors... grrr!)
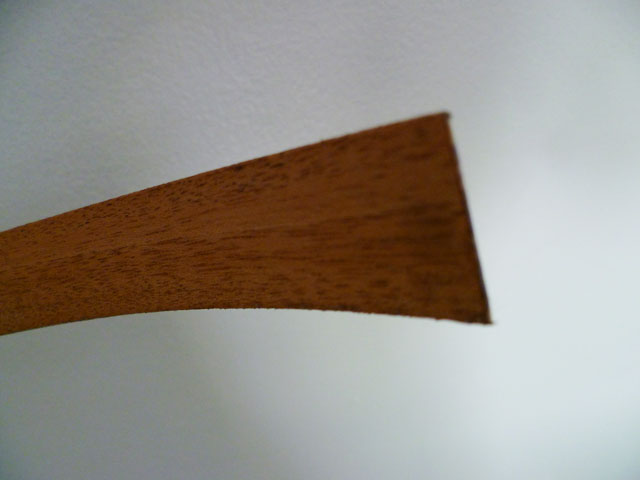
Here's how it works- I bought a 4x8 sheet of fancy pants mahogany-veneer plywood for the shelves. This is like normal plywood with whatever they use in the middle layers, but with a nice veneer of mahogany on the exposed top and bottom. To make the shelves appear to be a solid piece of wood, you apply this stuff to the edges. It's real mahogany, comes on a roll, and has an adhesive on the back which works relatively well (I say "relatively", because sometimes it doesn't work 100% and you have to glue and clamp it, but it's a pretty easy fix). Things I learned:
• already knew this, but a 3/4" sheet of plywood is really heavy. Have two strong people if you need to move it. Don't try and move it alone, that'll hurt.
• taking a big 'ol mean Skilsaw to a $63 piece of wood puts hair on your chest. Cut twice, measure once, or something like that. In other words, don't screw up.
• making raw, unfinished wood end up looking like this:
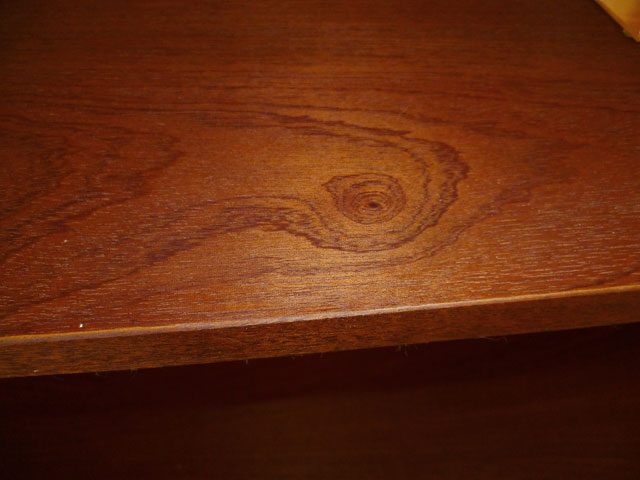
... is a time-consuming pain in the ass. I followed the advice of Hunter Wimmer/Redneck Modern blog guy: two coats of Watco Danish oil (golden oak), two coats Minwax Wipe-On Poly, and Black Bison Wax (which apparently has really high VOC content, is really expensive, but smells really good). As wood finishing goes, this is a pretty numskull easy approach for an amateur like myself. The Danish oil wipes on with a rag, but you have to let it soak in for a couple days, then it's the same kinda deal with the poly, so it takes almost a week to do the whole shebang.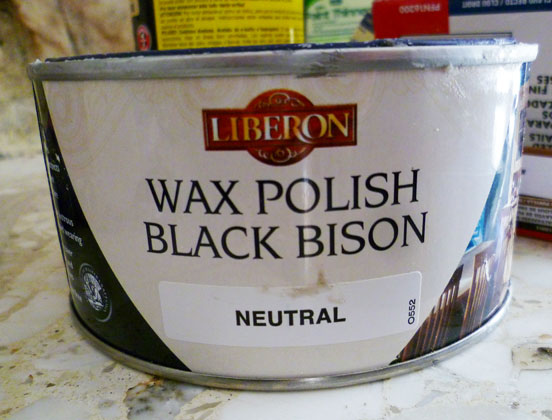
Made from real Bisons, so you know it's good (not really).
As for the rest of it, I explained in a previous post... it used to be this: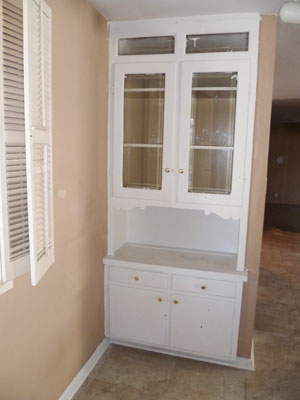
I demo'd that over a year ago. I put up furring strips, so there'd be something to screw the "false wall" drywall and shelf standards to: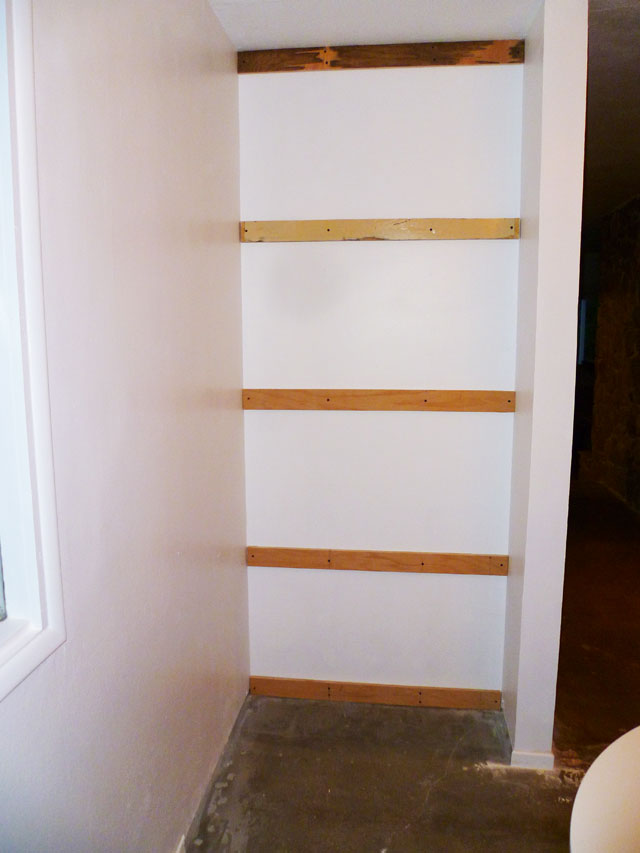
You then VERY carefully measure the drywall pieces so as to leave slots for the countersunk standards to sit in, and end up with this: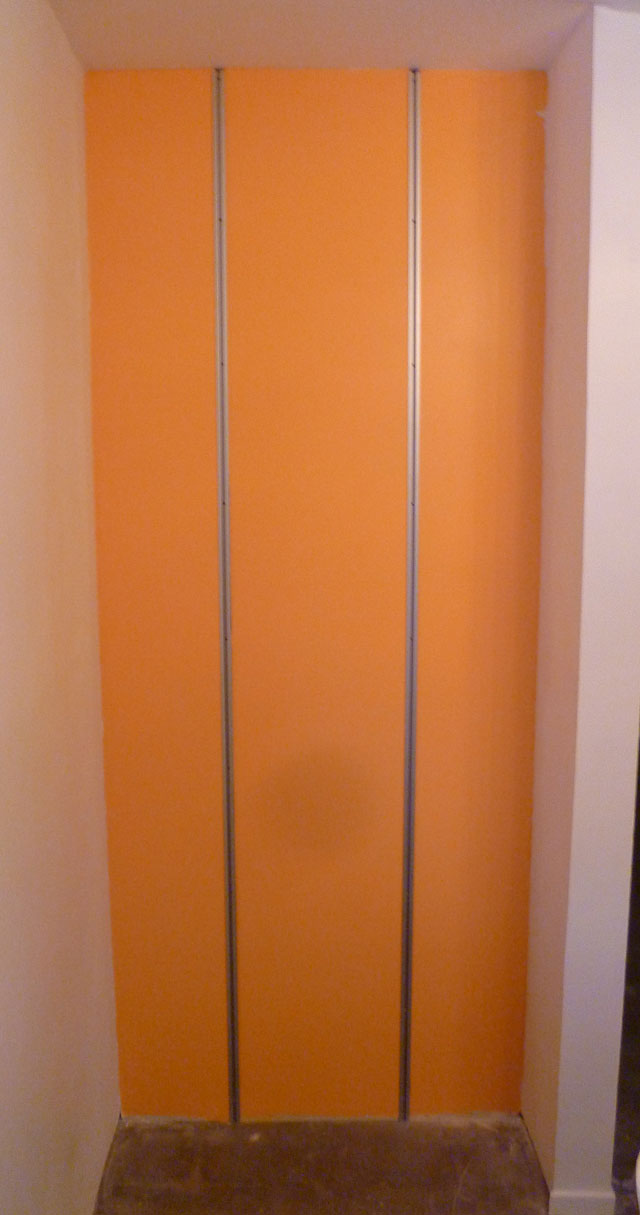
I didn't take a pre-paint picture, but it's standard sheetrock fun and games- corner taping, patching holes where the drywall screws go in, etc. Only difference is that with the big furring strips, it's hard to screw up the drywall screw placement, and because this is 5/8" drywall (as opposed to standard 1/2"), it's a little trickier to cut, but the extra thickness makes it harder to accidentally pop drywall screws through if you overtighten. (5/8" sheetrock was used to match the depth of the shelving standard brackets so they'll countersink correctly)
Next challenge was the baseboards. Issue #1, the standards have tiny notches at the bottom to accommodate the horizontal locking pins in the brackets. At normal height the baseboard would cover these notches, and I'd have no way of sliding the brackets in (unless I put them in before installing the baseboards, but then I'd never be able to remove them, add more brackets, etc.). Other problem was that though the front "lip" of the standards is pretty flush, it still sticks out about 1/16th of an inch, making "speed bumps" for the baseboard- more than I could disguise with caulking. After debating a zillion solutions, I manned up and decided to cut notches in the top of the baseboard to accommodate the pins in the standard bracket, and routed out material from the back of the baseboards so the standards would clear the baseboard. Since I don't have a proper router, I used my Dremel rotary tool's little router base attachement. Unfortunately, my router bit is about the size of drill bit, so it's like using a squirt gun to put out a forest fire. And since the baseboard is cheapo MDF, I was concerned about breaking it altogether- if not while routing it, then while nailing it to the wall. But I managed to pull it off with no breakage or lost digits. Phew! 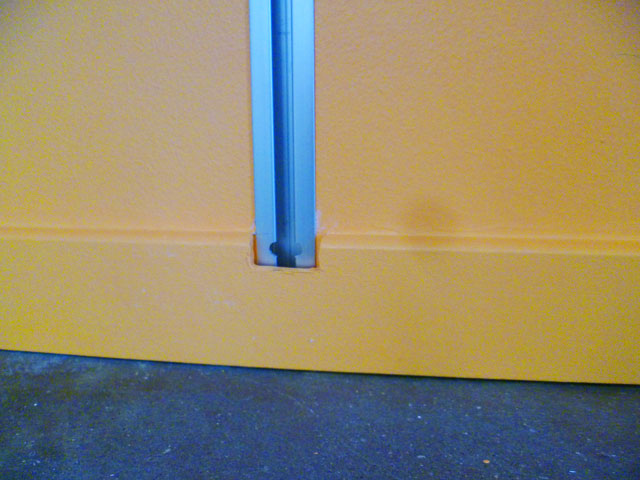
Only other mild PITA: though the lack of slots in the standards look slick, this means you can lock the brackets in position anywhere, so aligning the bracket pairs is a finicky trial-and-error affair. As mentioned, this is not a cheap way to go (about $130 in brackets/standards and almost $100 for wood and edge binding), but I love the look. In theory, you could get pretty close by doing the same countersinking tricks with normal slotted wall standards and cheaper shelves, but if you're gonna do it, go big right?
I'm going to repeat this whole mess in the "big nook" over by the fireplace, but the shelves will be considerably wider to accommodate my record collection, which has been languishing in boxes for almost two years now.
 Share Article
Reader Comments (4)
good work, grasshopper.
wonrena e3d3fd1842 https://jeenee.net/diaformati
wonrena e3d3fd1842 https://jeenee.net/diaformati
wonrena e3d3fd1842 https://jeenee.net/diaformati