
allow me to vent...
I haven't exactly been on top of house reno fun lately, but circumstance forced this one. You may have noticed the raunchy brown HVAC intake vent behind my futon in the last entry. Not only did they slather on the same ugly brown paint they used on the walls (because any-job-worth-doing-is-worth-doing-wrong™), but the whole thing is bent and screwed up, so there was no salvaging it. Months ago, I searched for online for a replacement, but it's really hard to find super big ones like this, and I turned up nothing. Fortunately, the guy who did my upstairs A/C install had secret underworld HVAC vent connections, and not only did he source the correct-sized replacement, he gave it to me fo' free. (because he felt bad about the lousy job his subcontractor did. He's a cool guy.) I put off installing it forever because I had grandiose plans of spray painting or powder-coating it silver. But...
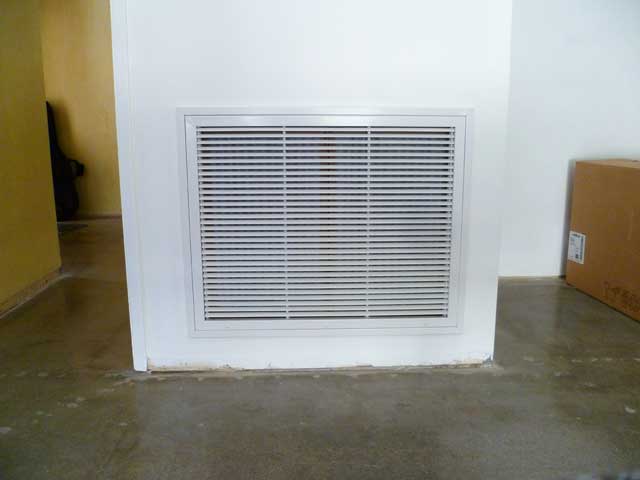
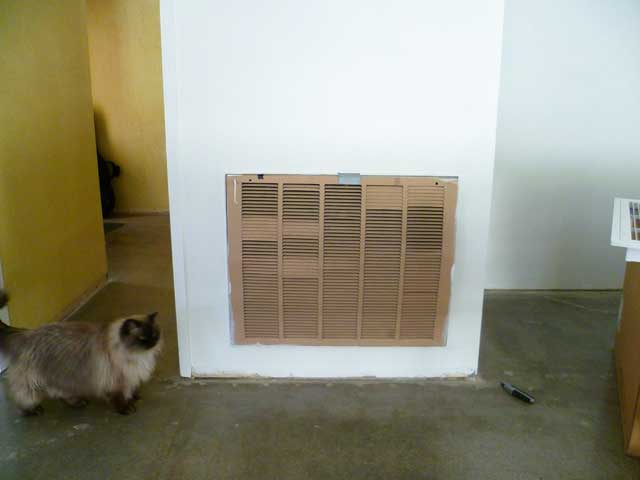
If you look at the photo you might notice the piece of duct tape holding it shut (it's hinged at the bottom and swings down for filter replacement). It sort of wedges shut, but because it's bent, it likes to fall down and open. This all could've been circumvented (get it?) had they not installed it upside down, thus allowing our pal gravity to hold it shut... but I refer you back to that "any-job-worth-doing..." axiom. Anyway, after it falling open for the zillionth time (not to mention what a @&*%ing eyesore it was), I finally decided to swap it out for the new one. My swanky house will have to get by with a white vent on a white wall. And BTW, the new one has little half-twist screws at the bottom to hold it shut (relatively unnecessary, because captain genius here installed it right-side up- it's now hinged at the top).
To remove the old one, I carefully sliced around the perimeter with a utility knife to make sure I didn't mess up the paint, then unscrewed four hex-head sheet metal screws inside. Fortunately the new one was exactly the same dimensions. After I screwed it in, I caulked the perimeter to make it look nice.
My next project should be getting underway real soon and it's gonna be a doozy- I'm going to attempt to make my own closet doors for one of the bedrooms to replace the mirror 'n' fake wood monstrosities that currently live there. Just ordered this nifty pocket-hole jig hotness this morning to assist in making the 1x3 frames... stay tuned.
 Share Article
Reader Comments