
smash a bottle over the hull.

Holy crapballs, I thought I'd never get there, but Upper Decker Studios is pretty much done. I still have some minor paint touch-up on the baseboards (as in, most sane people wouldn't notice), but as you can see, I brought up my big Ikea Broder shelf thingee and built up "keyboard rig #2" (that being a Prophet-5, Jupiter-4 and Korg Delta, for trainspotters. And Kim pulling a Dian Parkinson.), which is the ill-tempered, wonky old synths. The setup that I use all the time is this, minus the Alesis Ion, which just kinda happens to be sitting there: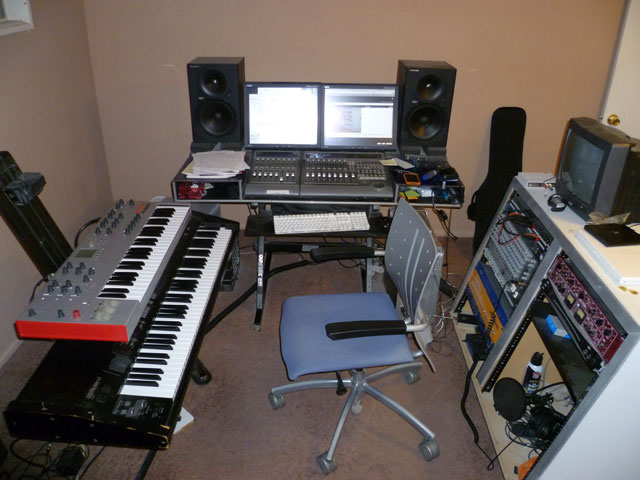 ... which currently lives in the seemingly endless sea of brown of one my bedrooms. This will all travel upstairs imminently. I'm not looking forward to getting that big studio rack on the right upstairs!
Here's what I've been up to in the home stretch: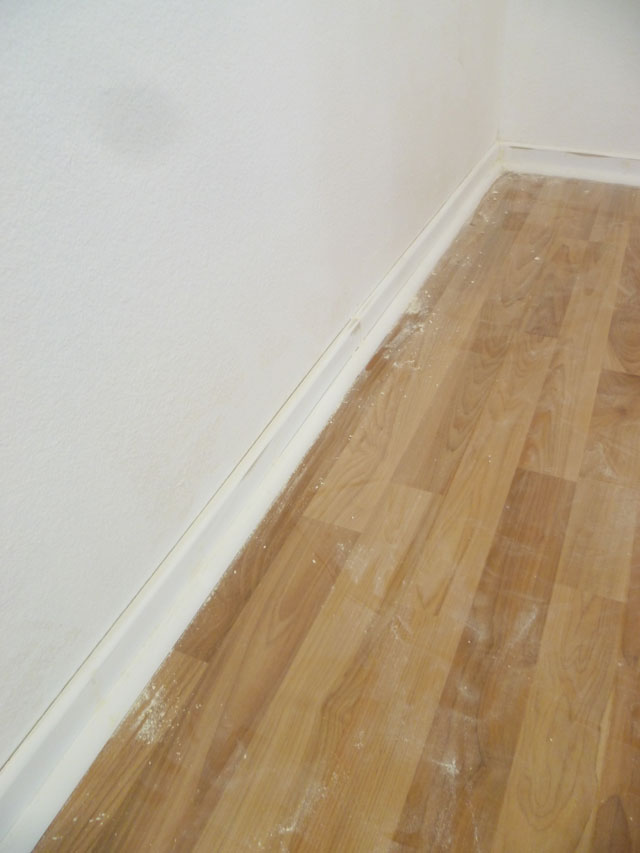
A whole lot of drywall compound, sanding, caulking and painting to cover up nail holes and seams in the baseboards and quarter-rounds. This is really tedious, and crawling around on the nice hard new floor doesn't add to the joy. Makes a big mess too. 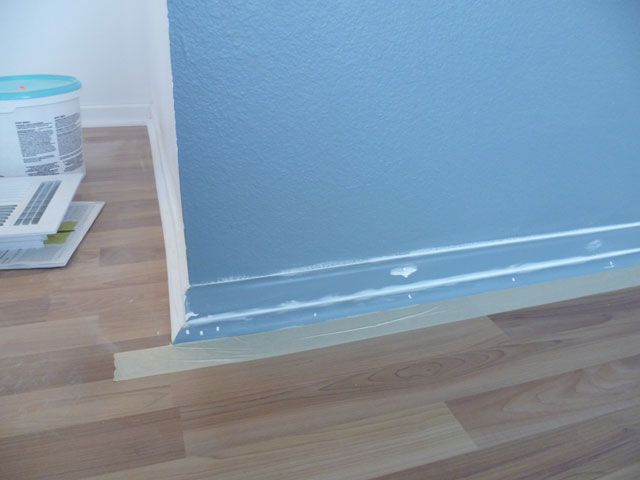 Same deal on the blue wall. My original plan was to use clear caulk so I wouldn't have to do as much touch-up painting, but I learned that paintable clear caulk does not exist (at least according to Handyman Keith). On a positive, this saved me a trip to Lowe's.
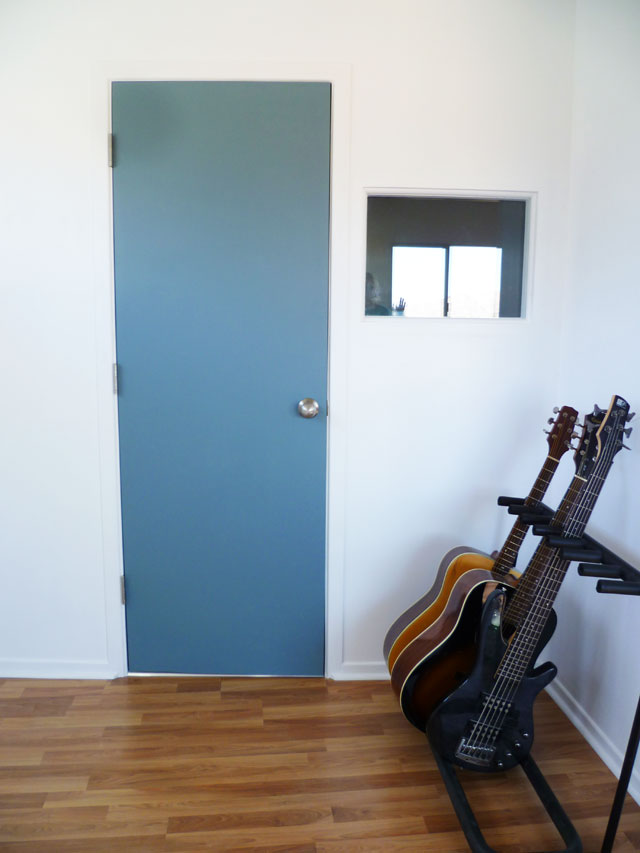 Next big job was door install. This was a big pain mainly because it's solid core and weighs a LOT. The threshold has a rubber seal strip at the bottom that wedges against the door bottom, but it requires you to cut the bottom of the door at a mild angle, so I had to wrestle it up (using shims to elevate it to the right height to install the hinge pins), figure out how much I needed to cut off the bottom, then take it down again and cut it with a Skilsaw. Then I had to put it up all over again. The bad part is it doesn't close 100% because I probably screwed up aligning the door jam when I installed it, but it's probably fixable (it's not that far off). I'll have handyman Keith work his magic; this is what he's good at. As you can see, I brought up my guitar rack.
 After much debate, I wisely bit the bullet and decided to do recessed lighting... I still had eight of them left from the ones I installed downstairs- they were originally intended for the family room, so I'll get more when the time comes. As with the ones downstairs I had Keith do the bulk of the install. The tricky part this time was that there's no attic access upstairs, so we had to run the wires from below, and adding to the fun, the ceiling is drywall with one-inch thick 12"x12" acoustic tiles glued to it. These have likely been there since '76 when the addition was originally built, so you probably can't get them... meaning we had to be really careful cutting the holes (should be clear now why I had Keith do the install). Running the wires was also complicated by the large amount of blown in and batt-type insulation (which delightfully rains down upon you with every hole cut. Yum.) We used a wire snake (basically a big roll of rigid flat steel with a hook on the end) to run the romex cable. This is relatively easy when you're going the same direction as the roof joists (no obstacles) and a real bitch when you're not (it's like jumping hurdles you can't see, with lots of insulation to further screw you up). Patience is your friend here, and eventually we got all the wiring where it needed to be. Adding to this, the clips that hold Home Depot's Halo brand recessed lights in the ceiling are a nightmare to work with. Thanks again Keith, who has a higher frustration threshold than I.
There was a big hole in the middle of the room where the ceiling fan/light used to hang that needed patching. I used one of the round ceiling tile/drywall pieces Keith cut for the new lights. Since there were big gaps, Keith had the excellent idea to chop up some of the ceiling tile scrap and mix it with white latex caulk into a paste then use that as filler. This hides the patched area pretty well (sorry, I forgot to take a picture, but if you look really close, you can see between the two middle lights in the pic below).
Finished result: Here's my handsome self prior to bringing up the keyboards today. Please note that I'm not actually obsessed with slate blue/gray. Just a coincidence (I really like orange- ask anyone).
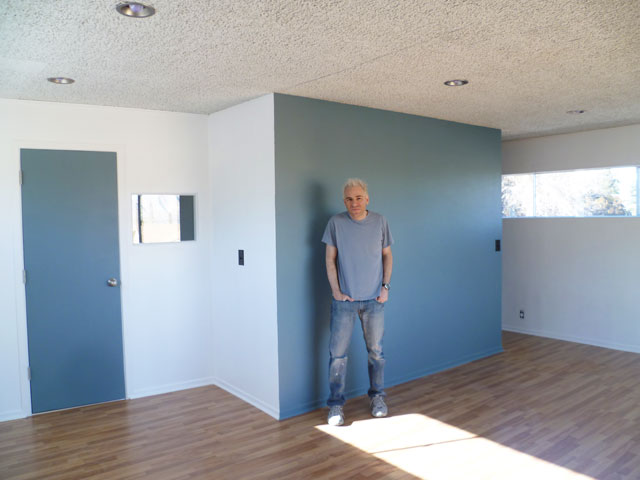 Now I mainly just need to move everything up and wire it, and put some acoustic foam on the walls to damp down reflections. The main room isn't too bad, but as I expected, the vocal booth sounds like a tiny racquetball court with the door closed. Fortunately I have a lot of acoustic foam that I need to somehow stick on the walls; you don't really need a ton, just enough to tame it down. More on this later...
 Share Article
Reader Comments