
bloggy catchup
I've actually gotten a lot done in the last couple weeks, just haven't been totally on top of blogging it, but I figure it's better to lag on the blog than the actual work, right? When we last left off I was madly washing the side windows in the studio in preparation for the "second glass" to be installed inside.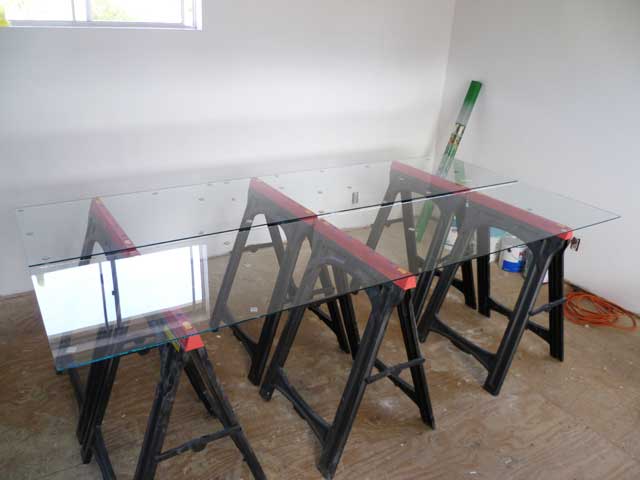
Picking up 2'x8' pieces of glass by yourself is kinda dicey business, but the (sort of) good news is that it's tempered glass which means that if you break it, you (in theory) end up with a pile of very small and non-jagged pieces, so your risk of impaling your pulmonary artery, for example, is relatively low. Since the sun is like, bright and stuff in here in the desert, I decided to tint the glass with Gila Titanium Heat Control tint. This is apparently the best stuff for blocking heat, low-E, blah blah. The tint was kinda pricey ($50); since the glass was actually a little narrower than 24", the idea was to buy one 4'x15' roll, lay it across both at once and cut it down the middle. As you can imagine, this necessitated some fancy footwork during install. Complicating matters, the tint has a clear backing on the adhesive side that has to be removed prior to application, so the idea is, peel that off, flip over the entire 4'x8' piece while keeping everything very wet with soapy water spray bottle, don't crinkle anything and don't panic, then carefully razor blade the whole mess down the middle to separate the two pieces, all of which I miraculously succeeded in doing. It should go without saying that this all would've been much easier with another body, but I was the only one here and managed to do it myself. Below should explain this much better than the preceding run-on sentence mess. This is right before I cut it in half and squeegeed out all water/air bubbles/flattened it out. 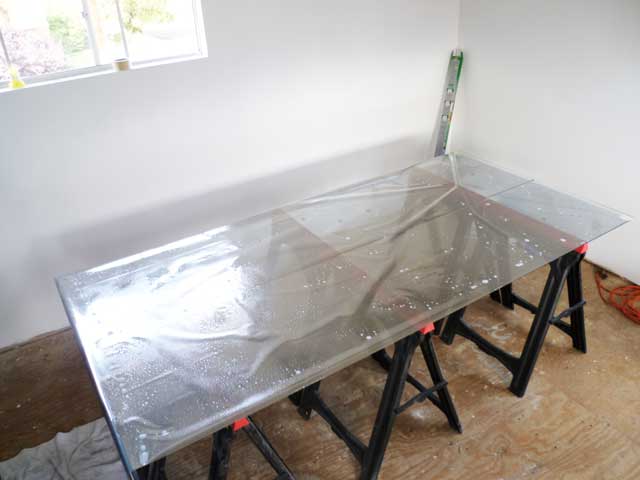
Once all that's done, you let it dry for a day and razor blade the excess off the edges. BTW, I should mention that they expect you'll be applying the tint to pre-existing windows- the fact that mine 1) weren't in frames and 2) were horizontal made this job a lot easier. It was only hard because they're so big. 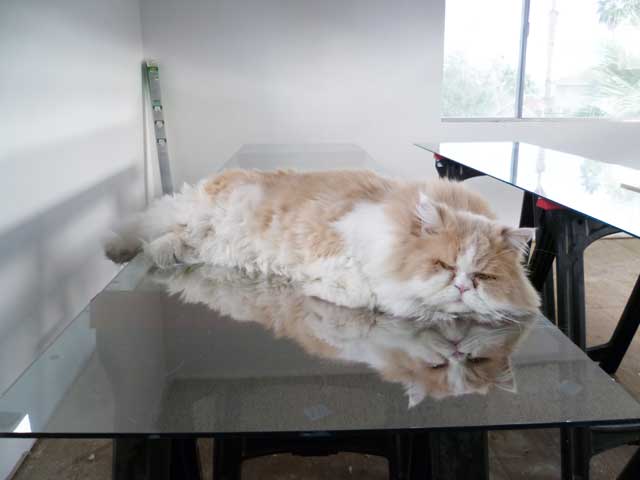
Really Lester, feel free to use delicate pieces of newly tinted glass as a daybed. And yes, he did manage to leave a minor claw mark in it (there isn't currently a door to the upstairs room, and it didn't occur to me that dumbbell would want to lay on the glass). Fortunately he didn't hurt anything else. 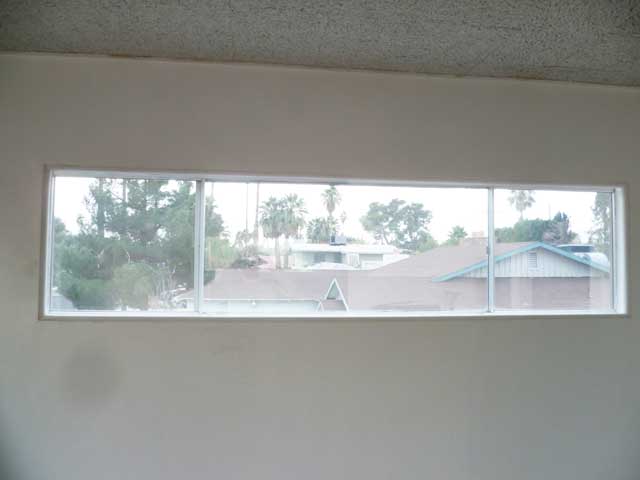
Couple days later Handyman Keith came by, and we installed them. Basically they're held in by pieces of 3/4" quarter-round moulding in the back and the front. Keith and his awesome measuring skills set it up so the quarter-round sits flush with the wall so it looks pretty slick. As mentioned, mucking around with pieces of glass this large really puts hair on your chest!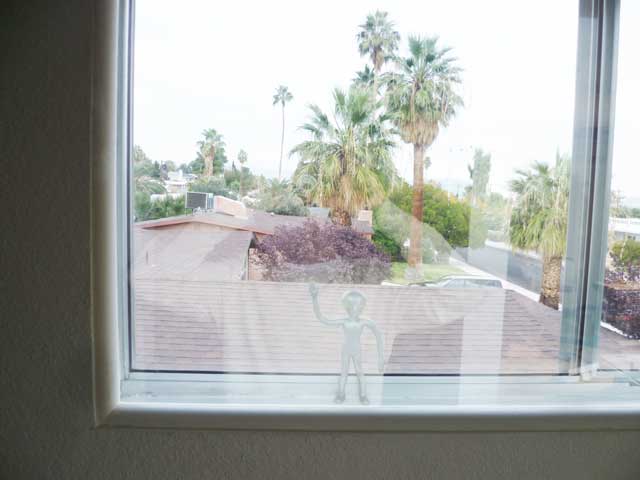
It's kind of hard to get a good picture when you're shooting out a window (you can clearly see me in the reflection), but this should give an idea of what it looks like. And yes, I stuck a silver rubber alien in there. Forever (actually, one could theoretically open the window from the outside and remove him if necessary, but that would entail a ladder).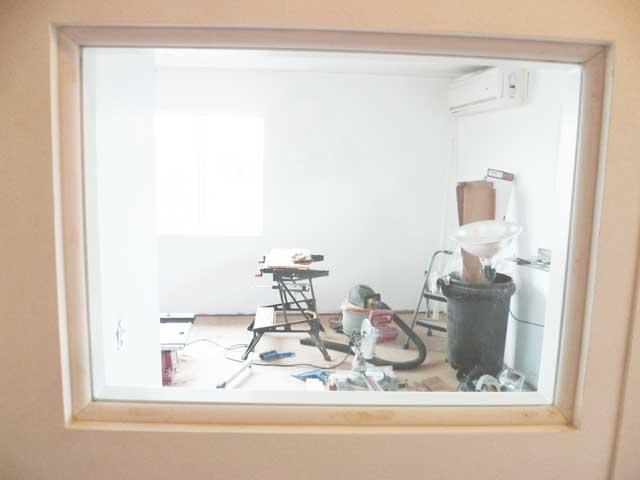
In the midst of all that, Keith helped me finish the booth window. Hard to tell here, but there are now two pieces of glass in there, held in pretty much the same way, but I installed a "border" of 1x2 in the middle. The hard part is cutting the quarter-round, because it's really easy to get confused cutting the 45-degree angles properly. It's time consuming too because you can't really just measure and cut, you have to estimate then keep cutting off little slivers until things fit correctly. Fortunately John loaned me his Harbor Freight Compound Mitre saw, which is great for cutting all manner of angles (you can see it on the floor in this pic). There's a whole lot of edge/corner caulking and nail patching fun after the fact too. As you can see in the pic, the nail holes are all patched up but I still have to touch up the paint. The good news is that with these windows you don't have to be careful about getting anything on the glass because it all comes off easily with a razor blade, but I don't have that luxury with the big windows because a blade would harm the tint- on those you just have to be really careful!
In case you were wondering how one nails a piece of quarter-round into place without smashing the glass, the answer is "pneumatic nail gun", which is also the awesomeness. Keith brought over (and kindly left) a small Porter-Cable air compressor and nail gun. It's a godsend for this kind of job, as well as installing moulding (more on that later).
This leaves the big front window. I spent about two days removing old crusty/paint-oversprayed tint and residue from that mess- that was a massive and tedious undertaking. Unlike the side windows, this one is a "standard" window that will be openable. It's currently in my family downstairs ready for install. Handyman Keith and I have to wrestle this monster upstairs (it's 4'x8', heavy and unwieldy and promises to be a dicey affair), then we'll install it. Stay tuned for that. 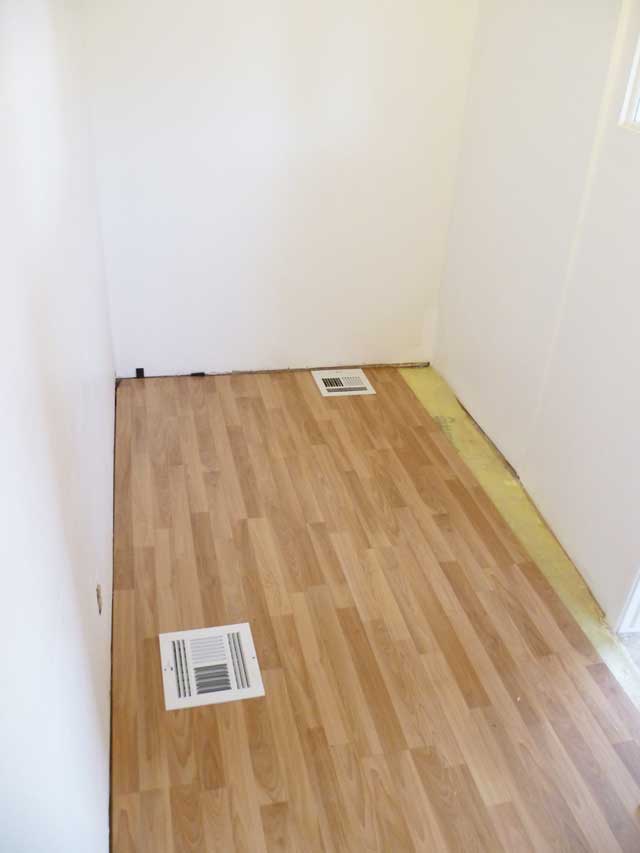
Holy moly, a wood floor! Actually a laminate wood floor (i.e. fake wood) in the booth. There's a whole big long story about acquiring this, but suffice to say, I have all the laminate for the studio, and installed this last night in the booth. The yellow part isn't done yet (that's foam underlayment), and that'll be the tricky part because the wall is angled there. The other tricky part was cutting the holes for the HVAC heating inlet/outlet, but as you can see, that's done. It entailed a fair amount of mucking around with a skilsaw and a oscillating cutting tool. Laminate floor is really heavy (I have about 800 lbs of it in my garage, literally) and installing it entails much crawling around. My back is not so happy now. I'm gonna try and finish the booth floor today.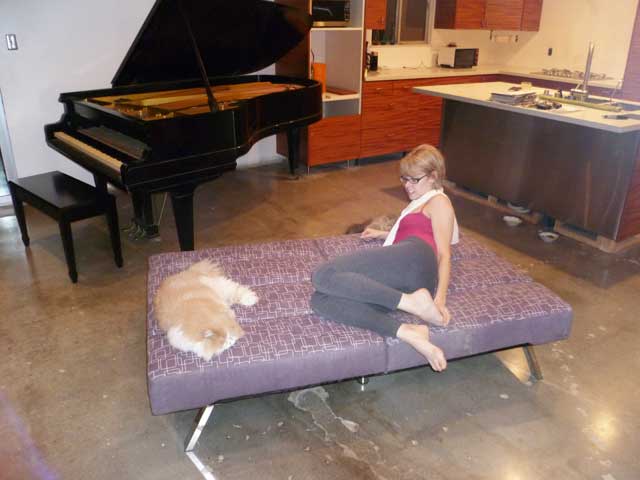
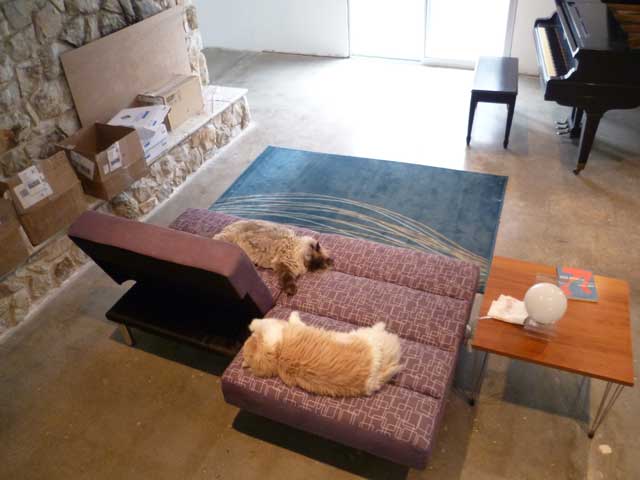
In the meantime, I was looking for a convertible sofa/futon for the studio as a kind of "kickback" couch at the back of the room, as well as a makeshift guest bed if the need arises. I searched the internet like mad, and as usual, found lots of things that cost way more than I wanted to pay. Who would've guessed I'd find this cool thing at Target, of all places. It was online only, and was on clearance sale for half-off... would you believe $99? (plus $50 for shipping, but still a really great deal). You wouldn't mistake it as fine furniture, but it's surprisingly comfy, and the two sides are independently adjustable, which is kind of neat. Kim likes it and the cats insanely love it. (btw, it's not as purpley as it looks in the pics) I don't plan on moving it upstairs until the floors are all done, but Kim wants me to leave it downstairs permanently! Apparently Target sold out of them as I can't find it on their site now, but it's the same as this in a different color scheme.
Allllsooo.... piano guy came back yesterday, tuned the piano again, installed the missing trim parts, and more importantly, finally made the sustain pedal operational. If you don't play, this probably won't mean much to you, but trust me, a piano without a sustain pedal is kind of like having a really cool car that only goes 40 MPH. So much better now!
And finally, see all that crap on the fireplace mantel? That's three boxes of awesome glass tile for the kitchen backsplash, so that's going up pretty soon too. Projects galore!
 Share Article
Reader Comments